Guide to Names and Functions of Components

- Do not obstruct the machine's vents. Doing so can result in fire as the internal components are overheated.
Front and Left View
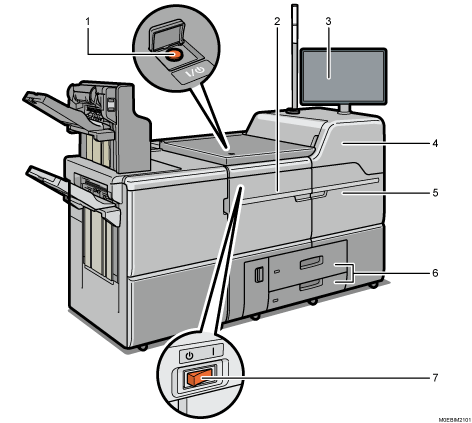
Main power switch
To operate the machine, the main power switch must be on. If it is off, open the main power switch's cover and turn the switch on.
Front left cover
Open to remove paper jams or turn on/off the AC power switch.
Control panel
Front upper right cover
Install toner cartridges here. Open the cover to replace toner cartridges.
Front right cover
Open to remove paper jams.
Paper trays (Trays 1–2)
Load paper here. Tray 1 is a tandem tray where paper on the left side automatically moves to the right when paper there has run out.
An indicator on the front left side of the tray lights while paper is feeding.
AC power switch
Press to completely turn off the power of the machine. The AC power switch must be kept on in normal use. The switch is inside the front left cover.
For details about the AC power switch, see below.
Front and Right View
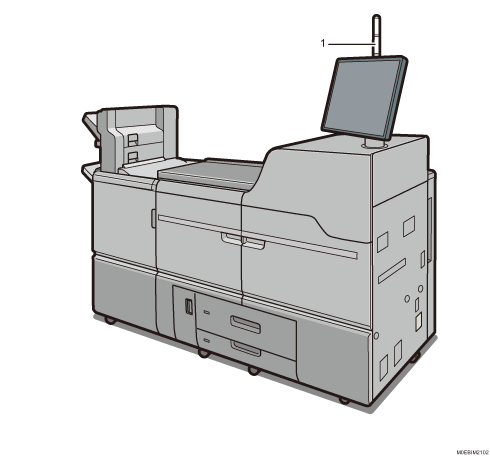
Attention light
Rear and Right View

Vents
Prevent overheating.
Remote management service connection port
Use this port to connect to the remote management services over the Internet.
Earth leakage breaker
Protects users from electric shock. For details about checking the earth leakage breaker, see below.

If you perform a large amount of print jobs in a high-temperature environment, the print jobs may be suspended and the machine's inner fans near the vents continue running to cool the machine.
The fan inside the machine near the vents may continue running to cool the machine after a large print job.
Guide to Functions of the Attention Light

Do not push or pull the attention light when installed to the machine. Doing so may result in damage or malfunction of the attention light or the machine.
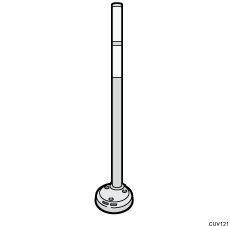
The attention light notifies the user by light when there is a paper jam or no paper is left.
The colors of the lamp and their meanings are as follows:
Lamp | Status |
|---|---|
The bottom lamp lights blue. | Printing |
The bottom lamp flashes blue. | Data in |
The top lamp lights red. | Error occurred (Example)
Read the message on the display panel, and then take appropriate action. |
The top lamp flashes yellow. | Warning (Example)
Read the message on the display panel, and then take appropriate action. |