Edge Erase Mode
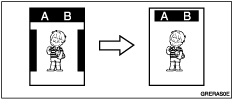
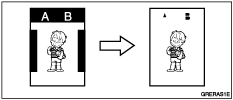
When printing from thick books or similar originals, a shadow caused by the binding may appear on the prints. If you print using Edge Erase mode, these shadows will be erased automatically.
With Edge Erase mode
Without Edge Erase mode
![]() Press the [Edge Erase] key.
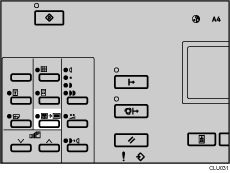
Press the [Edge Erase] key.
![]() Use the [
Use the [![]() ] or [
] or [![]() ] key to select the original size and orientation, and then press the [OK] key.
] key to select the original size and orientation, and then press the [OK] key.

![]() Set your original.
Set your original.
![]() Make sure the [Master Making] mode select key is lit.
Make sure the [Master Making] mode select key is lit.
If it is not lit, press the [Master Making] mode select key.
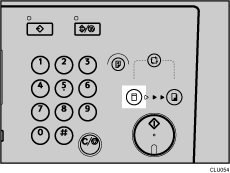
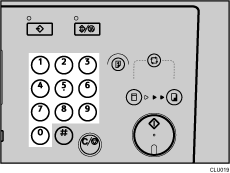
![]() Enter the number of prints you want using the number keys.
Enter the number of prints you want using the number keys.
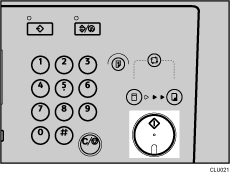
![]() Press the [Start] key.
Press the [Start] key.
![]() Printing starts automatically after the trial print.
Printing starts automatically after the trial print.
![]()
You can specify an edge erase margin of 0-20 mm (0-0.8 inches). For details, see 3 Initial Setting
 .
.The default is 5 mm (0.2 inches).
If you want to check the image before printing, press the [Auto Cycle] key before pressing the [Start] key, in order to disable Auto Cycle mode. See When Auto Cycle Mode Is Off
 .
.

