

  |  | ||
The following example explains loading procedure for the standard paper tray (Tray 1). The same procedure can be used for the optional paper feed unit.
![]()
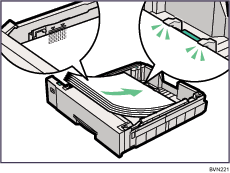
Make sure paper is not stacked above the limit mark inside the tray. Misfeeds might occur.
Do not put different types of paper in a single paper tray.
Up to 500 sheets of paper can be loaded in the paper feed unit. This means a maximum of 1,500 sheets can be simultaneously loaded when two additional paper feed units are installed.
Confirm that paper fits under the rear guide.
Do not slide the paper tray in with force. If you do, the front and side guides might move.
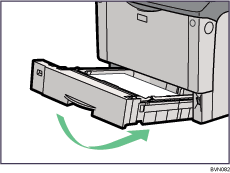
Lift the paper tray slightly, and then pull it out until it stops.
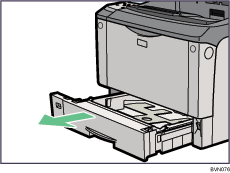
Lift the front side of the tray, and then pull it out of the printer.
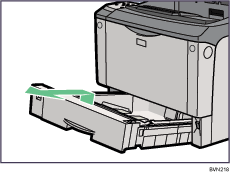
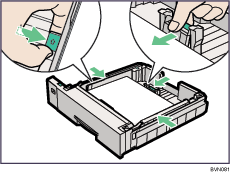
Pinch the green clips on the side guide and the end guide, and then adjust the guides to the paper size being loaded.
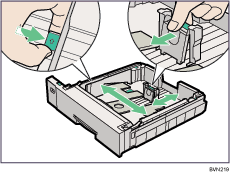
Slide the two green switches into one of the two positions according to the thickness of the paper you are loading. If the paper is 157 g/m2 (42 lb.) or thicker, slide both switches into the rear (thick) position. If the paper is lighter than 157 g/m2 (42 lb.), slide both switches into the forward (thin) position.
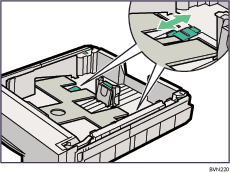
Make sure that the positions of both switches are the same.
Fan the paper before loading paper in the paper tray.
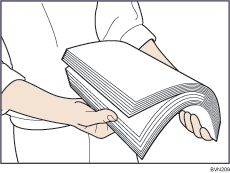
Load paper into the tray with the print side down.
Adjust the paper guides to close any gaps.
Do not move paper loaded in the tray more than a few millimeters.
Excessive movement of loaded paper can cause edges of sheets to snag on the openings of the tray's lifting plate, resulting in sheets being folded or becoming jammed.
Lift the front end of the tray, and then carefully slide the tray into the printer until it stops.
