Specifying the scan destination from an LDAP server
This section describes how to select a destination registered on the LDAP server.
![]()
To search for a destination from an LDAP server, the LDAP server must be registered in advance, and [LDAP Search] must be enabled under the LDAP server settings.
You can search Scan to E-mail destinations from the LDAP server (not Scan to FTP or Scan to Folder destinations).
![]() Press the [Scanner] key.
Press the [Scanner] key.
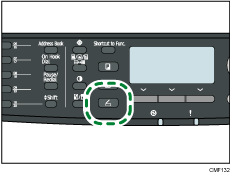
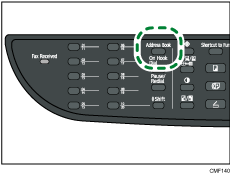
![]() Press the [Address Book] key.
Press the [Address Book] key.
![]() Press the [
Press the [![]() ][
][![]() ] keys to select [Search LDAP], and then press the [OK] key.
] keys to select [Search LDAP], and then press the [OK] key.
![]() Press the [
Press the [![]() ][
][![]() ] keys to select [Start LDAP Search], and then press the [OK] key.
] keys to select [Start LDAP Search], and then press the [OK] key.
A list of destinations that match the search conditions appears on the display (up to 50).
![]() Press the [
Press the [![]() ][
][![]() ] keys to scroll through the search result, and then press [
] keys to scroll through the search result, and then press [![]() ] to select the desired destination.
] to select the desired destination.
You can select multiple destinations. A check mark will appear for the selected destinations. To deselect a destination, press [![]() ] again.
] again.
![]()
The search result will contain destinations that match the predefined search conditions.
To send scanned files to the destinations specified from the LDAP server, you must select the file format after pressing the [Start] key to execute scanning. The file format depends on the [Scanning Mode] setting under scanner settings:
When in black-and-white scanning mode: TIFF or PDF
When in color or gray scale scanning mode: JPEG or PDF
The scanned files to the destinations specified from the LDAP server will be created with the machine's current scan settings. If necessary, configure the scan settings before executing scanning.
If a record that has been found contains multiple destinations, the first of those destinations will be used.
![]()
For details about registering LDAP servers, see Programming the LDAP server
 .
.For details about specifying the search conditions, see Specifying the LDAP Address Search Conditions
.For details about [Scanning Mode], see Scanner Settings
.To configure advanced scan settings, see Specifying the Scan Settings
.