Printing in Two Colors
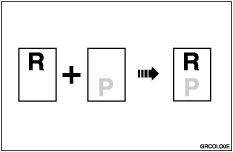
After printing in one color, you can print in another color on the same side of the print.
![]()
Let the ink on the prints dry for a while before printing on them again.
If the ink on the prints is still wet when you print on them again, the paper feed roller might become dirty. In this case, wipe the roller with a cloth.
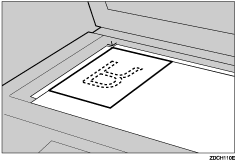
![]() Prepare two originals. Place the first on the exposure glass or in the ADF.
Prepare two originals. Place the first on the exposure glass or in the ADF.
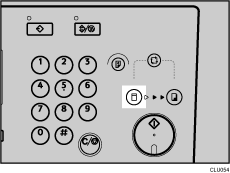
![]() Make sure the [Master Making] mode select key is lit.
Make sure the [Master Making] mode select key is lit.
If it is not lit, press the [Master Making] mode select key.
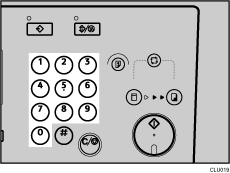
![]() Enter the number of prints you want using the number keys.
Enter the number of prints you want using the number keys.
![]() Press the [Start] key.
Press the [Start] key.
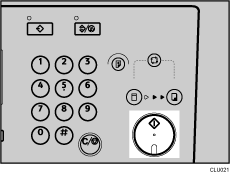
Printing starts automatically after the trial print.
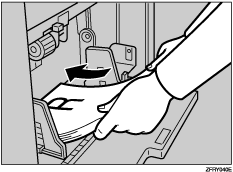
![]() Remove the prints from the paper delivery tray, and place them onto the paper feed tray again, as shown below.
Remove the prints from the paper delivery tray, and place them onto the paper feed tray again, as shown below.
![]() Place the second original.
Place the second original.
![]() Make sure the [Master Making] mode select key is lit.
Make sure the [Master Making] mode select key is lit.
If it is not lit, press the [Master Making] mode select key.

![]() Enter the number of prints you want using the number keys.
Enter the number of prints you want using the number keys.

![]() Press the [Start] key.
Press the [Start] key.

![]() Printing starts automatically after the trial print.
Printing starts automatically after the trial print.
![]()
You cannot print in two colors at the same time.
If you want to check the image before printing, press the [Auto Cycle] key before pressing the [Start] key, in order to disable Auto Cycle mode. See When Auto Cycle Mode Is Off
 .
.


