Printing for selected sections in a department
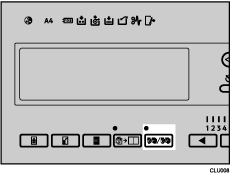
![]() Press the [Memory/Class] key.
Press the [Memory/Class] key.

![]() Use the [
Use the [![]() ] or [
] or [![]() ] key to select [Select Department], and then press the [OK] key.
] key to select [Select Department], and then press the [OK] key.

![]() Use the [
Use the [![]() ] or [
] or [![]() ] key to select the department, and then press the [OK] key.
] key to select the department, and then press the [OK] key.

![]() Use the [
Use the [![]() ] or [
] or [![]() ] key to select the section for which you want to print, and then press the [
] key to select the section for which you want to print, and then press the [![]() ] key.
] key.

Repeat Step 4 to select more sections.
You can only select sections from the same department.
If you have selected the wrong section, use the [![]() ] or [
] or [![]() ] key to select the section again, and then press the [
] key to select the section again, and then press the [![]() ] key to cancel its selection.
] key to cancel its selection.
![]() Press the [OK] key.
Press the [OK] key.
![]() Set your original.
Set your original.
![]() Make sure the [Master Making] mode select key is lit.
Make sure the [Master Making] mode select key is lit.
If it is not lit, press the [Master Making] mode select key.

![]() Press the [Start] key.
Press the [Start] key.

![]() Printing starts automatically after the trial print.
Printing starts automatically after the trial print.
![]()
If you want to check the image before printing, press the [Auto Cycle] key before pressing the [Start] key, in order to disable Auto Cycle mode. See When Auto Cycle Mode Is Off
 .
.

