To use the Z-fold function, you must attach the Z-fold support tray.
Finisher SR4110
Finisher upper tray
Remove the output paper.
Attach the Z-fold support tray to the finisher upper tray.
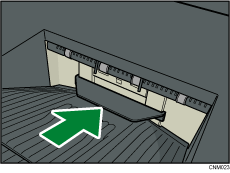
Finisher shift tray
Press the [Suspend / Resume] key.
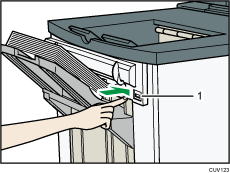
[Suspend / Resume] key
Remove the stack of paper from the finisher shift tray.
Attach the Z-fold support tray.
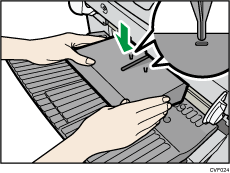
Attach the Z-fold support tray by inserting the two protrusions on its underside into the holes on the finisher shift tray.
Press the [Suspend / Resume] key.
Multi-folding unit
Open the front cover of the multi-folding unit and take out the Z-fold support tray for multi-folding unit (located at the bottom of the multi-folding unit).
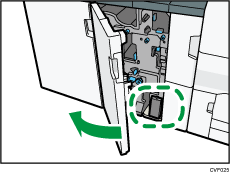
Attach the Z-fold support tray for multi-folding unit in the slope of the folding unit tray so that it is flush against the end fence.
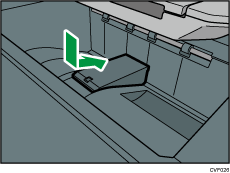
Close the front cover of multi-folding unit.
When you have finished using the Z-fold support tray for multi-folding unit, open the front cover of the multi-folding unit and re-attach the tray to its stowage hook.

