Class Mode
![]()
You can print up to 24 combinations of number of prints and number of classes.
The maximum possible number of classes in one combination is 99.
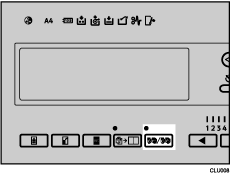
![]() Press the [Memory/Class] key.
Press the [Memory/Class] key.

![]() Use the [
Use the [![]() ] or [
] or [![]() ] key to select [Class], and then press the [OK] key.
] key to select [Class], and then press the [OK] key.

![]() Use the number keys to enter the number of prints you want, and then the press the [
Use the number keys to enter the number of prints you want, and then the press the [![]() ] key.
] key.

![]() Use the number keys to enter the number of classes you want, and then press the [
Use the number keys to enter the number of classes you want, and then press the [![]() ] key.
] key.

Repeat Steps 3 and 4 when necessary.
![]() Press the [OK] key.
Press the [OK] key.
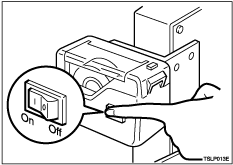
![]() If you want to use the optional tape dispenser, turn on the tape dispenser switch.
If you want to use the optional tape dispenser, turn on the tape dispenser switch.

The optional tape dispenser automatically feeds paper strips to separate each group of prints.
![]() Set your original.
Set your original.
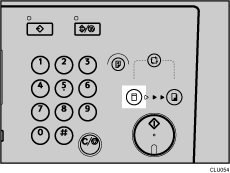
![]() Make sure the [Master Making] mode select key is lit.
Make sure the [Master Making] mode select key is lit.
If it is not lit, press the [Master Making] mode select key.

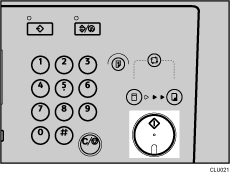
![]() Press the [Start] key.
Press the [Start] key.

![]() Printing starts automatically after the trial print.
Printing starts automatically after the trial print.
![]()
If you want to check the image before printing, press the [Auto Cycle] key before pressing the [Start] key, in order to disable Auto Cycle mode. See When Auto Cycle Mode Is Off
 .
.

