

  |  | ||
This section describes the basic operation for sending scanned files via E-mail, to an FTP server, or to a computer. The scanned file is sent via E-mail, to an FTP server, or a computer, depending on the specified destination.
![]()
The original in the ADF takes precedence over the original on the exposure glass if you place originals both in the ADF and on the exposure glass.
When using the Scan to E-mail, Scan to FTP or Scan to Folder function, you must first register the destination in the Address Book using Web Image Monitor.
If a USB flash disk is inserted in the machine, scanning functions other than Scan to USB are not possible from the control panel. Make sure there is no USB flash disk inserted in the machine.
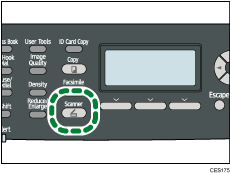
Press the [Scanner] key.

Confirm that "Specify Dest." is shown on the screen.
Place the original on the exposure glass or in the ADF.
If necessary, configure advanced scan settings.
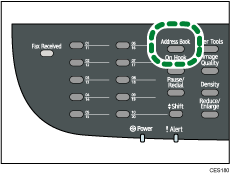
Press the [Address Book] key.

Search for the desired destination by pressing the [![]() ][
][![]() ] keys to scroll the Address Book, and then press the [OK] key.
] keys to scroll the Address Book, and then press the [OK] key.
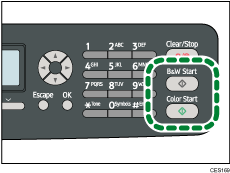
Press the [B&W Start] key or the [Color Start] key.

To scan in black and white, press the [B&W Start] key.
To scan in color, press the [Color Start] key.
Depending on the machine's settings, you may see the following screen on the display when scanning from the exposure glass.

If you see this screen, proceed to the next step.
If you have more originals to scan, place the next original on the exposure glass, and then press [Yes]. Repeat this step until all originals are scanned.
When all originals have been scanned, press [No] to start sending the scanned file.
![]()
To cancel scanning, press the [Scanner] key, and then press the [Clear/Stop] key. The scan files are discarded.
When you specify a scan destination, the machine's scan settings change automatically according to the information registered for that destination in the Address Book. If necessary, you can change the scan settings using the control panel.
You can also specify a destination using the One Touch buttons or [Pause/Redial] key.
If the [Limitless Scan] setting under scanner settings is enabled, you can place originals on the exposure glass repeatedly in a single scan procedure.
If [File Type] under scanner settings is set to [Multi-page], you can scan multiple pages to create a single PDF or TIFF file containing all pages. However, if the file format is JPEG, a single-page file will be created for every page scanned.
If paper is jammed in the ADF, the scan job will be put on hold. To resume the current job, remove the jammed paper and scan the originals again starting from the jammed page.
![]()
To place the original, see Placing Originals.
To configure advanced scan settings, see Specifying the Scan Settings.
For details about specifying the scan destination, see Specifying the scan destination.
For details about [File Type] or [Limitless Scan], see Scanner Settings.
For details about how to remove the paper jammed in the ADF, see Removing Scanning Jams.