Stamp
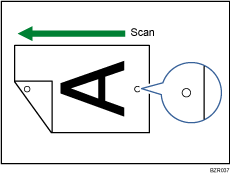
When sending a fax document using the ADF, the machine can stamp a circle mark at the bottom of the original.
When sending a two-sided document, the document is marked at the bottom of the front page and top of the rear page.
![]()
Stamp only works when scanning from the ADF.
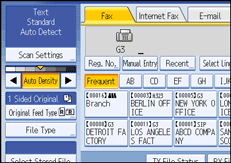
![]() Place the original, and then select the scan settings you require.
Place the original, and then select the scan settings you require.
![]() Press [Original Feed Type].
Press [Original Feed Type].
![]() Press [Stamp].
Press [Stamp].
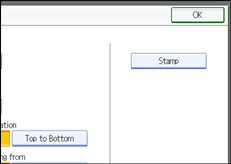
To cancel the stamp, press [Stamp] again before pressing [OK].
![]() Press [OK].
Press [OK].
![]() Specify the destination, and then press the [Start] key.
Specify the destination, and then press the [Start] key.
![]()
This stamp indicates that the original has been successfully stored in memory for Memory Transmission, or successfully sent by Immediate Transmission.
When the stamp starts getting lighter, replace the cartridge. For details, see “Replacing the Stamp Cartridge”, About This Machine.
If a multi-page feed or paper jam occurs, the originals are not sent properly and not stamped. If you find a page that is not stamped, send only that page again.
You can have the machine select the Stamp function right after the power is turned on or whenever the [Clear Modes] key is pressed. For details, see “Changing the Default Functions of the Fax's Initial Display”.
You can program one of the Quick Operation keys with operations for this function. Using the Quick Operation key allows you to omit steps 2 and 4. For details about Quick Operation Key, see “General Settings”.
A paper jam during Parallel Memory Transmission may cause the transmission to fail even if stamping is performed.
You cannot turn the Stamp function on or off while an original is being scanned.