Perfect Binding
You can specify the perfect binding settings.
This section explains how to perfect bind originals scanned from the ADF.
You can specify the binding position, cut position, and the finishing size.
![]()
The following copier functions are not available when perfect binding output:
Booklet/Magazine
Stack
Sort
Slip Sheet
Separation Sheet
Z-fold, Half Fold, Letter Fold-out, Letter Fold-in, Double Parallel Fold, Gate Fold
Copy Face Up
Staple/Staple (Center)
Auto Paper Select
Front Cover
Back Cover
Designate
Interrupt Copy
Eject copies to Stacker
![]() Place the originals for the book block in the ADF.
Place the originals for the book block in the ADF.
![]() Load cover sheets into the interposer.
Load cover sheets into the interposer.
For details, see “Loading cover sheets”, About This Machine![]()
![]() .
.
![]() Select the paper tray for the book block sheets.
Select the paper tray for the book block sheets.
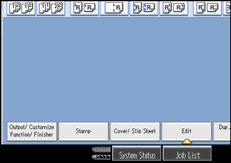
![]() Press [Output/Customize Function/Finisher].
Press [Output/Customize Function/Finisher].

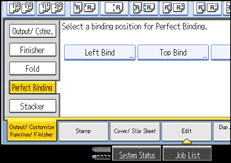
![]() Press [Perfect Binding].
Press [Perfect Binding].
![]() Select one of the binding positions.
Select one of the binding positions.

You can also specify the binding position and cut position.
![]() Specify a binding position and a cut size if necessary.
Specify a binding position and a cut size if necessary.
![]() After making all settings, press [OK].
After making all settings, press [OK].
![]() Press the [Start] key.
Press the [Start] key.
Glue heating begins.
When the glue is hot enough, binding starts.
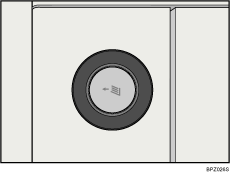
![]() Press the delivery key when the status indicator goes off and the delivery key indicator lights up.
Press the delivery key when the status indicator goes off and the delivery key indicator lights up.

The lower left tray opens.
![]() Remove bound booklets and close the lower left tray.
Remove bound booklets and close the lower left tray.
![]()
When you select perfect binding mode, Sort is automatically selected.

