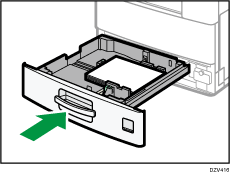
Loading Paper into Paper Trays
The following example explains the loading procedure for the standard paper tray (Tray 1).
Every paper tray is loaded in the same way.
![]()
Curled paper may jam. Straighten curled paper before loading.
Specify the sizes of paper that are not automatically detected. For details about the sizes that can be detected automatically, see Supported Paper. For details about how to specify sizes, see Specifying Paper Type and Paper Size Using the Control Panel.
Make sure the paper stack does not exceed the upper limit mark inside the paper tray. Excessive stacking can cause paper jams.
If paper jams occur frequently, flip the paper stack in the tray.
Do not mix different types of paper in the same paper tray.
After loading paper, specify the paper type using the control panel. When loading paper the sizes of that are not automatically detected, specify the paper size and paper type using the control panel. When printing a document, specify the same paper size and type in the printer driver as specified on the machine.
Do not move the side fences and end fence forcefully. Doing so may damage the tray.
Do not slide the paper tray in forcefully when inserting the loaded tray into the machine. Otherwise, the side and end fences of the tray might move.
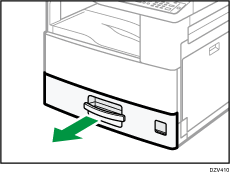
![]() Check that paper in the paper tray is not being used, and then pull the tray carefully out until it stops.
Check that paper in the paper tray is not being used, and then pull the tray carefully out until it stops.
![]() While pressing down the release lever on the side fence, slide the side fences outward.
While pressing down the release lever on the side fence, slide the side fences outward.
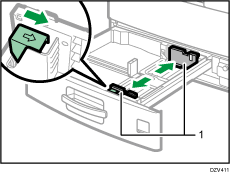
Side fences
![]() While pinching the release lever of the end fence, slide the end fence outward.
While pinching the release lever of the end fence, slide the end fence outward.
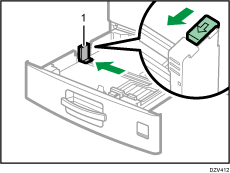
End fence
![]() Fan the paper before loading it.
Fan the paper before loading it.
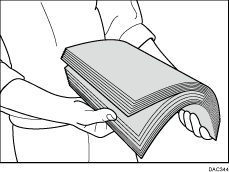
![]() Square the paper and load it print side up.
Square the paper and load it print side up.
Make sure the paper is not stacked higher than the upper limit marked inside the tray.
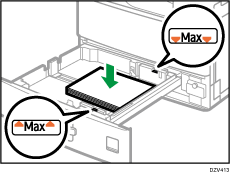
![]() Slide the fences inward until they are flush against the sides of the paper.
Slide the fences inward until they are flush against the sides of the paper.
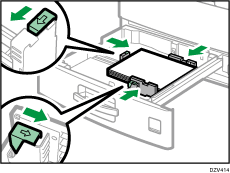
Check there are no gaps between the paper and the fences; both side and end fences.
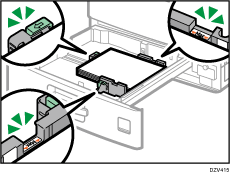
![]() Carefully slide the paper tray fully in.
Carefully slide the paper tray fully in.
To avoid paper jams, make sure the tray is securely inserted.
