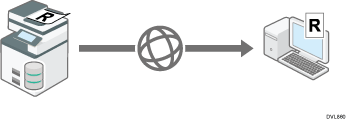
Basic Procedure for Storing Scan Files
This section explains how to store the scanned documents to the machine's hard disk.
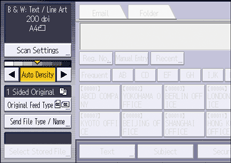
![]()
You can specify a password for each stored file. We recommend that you protect stored files from unauthorized access by specifying passwords.
Stored files will be deleted after a set period. For details about specifying the period, see "Administrator Tools", Settings.
Scan file stored in the machine may be lost if some kind of failure occurs. We advise against using the hard disk to store important files. The supplier shall not be responsible for any damage that may result from the loss of files.
![]() Press [Home] (
Press [Home] ( ) at the bottom of the screen in the center.
![]() Press the [Scanner (Classic)] icon.
Press the [Scanner (Classic)] icon.
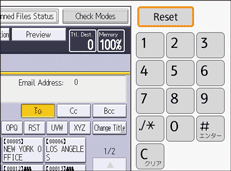
![]() Make sure that no previous settings remain.
Make sure that no previous settings remain.
If a previous setting remains, press [Reset].
![]() Place originals.
Place originals.
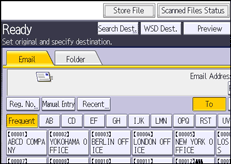
![]() Press [Store File].
Press [Store File].
![]() Press [Store to HDD].
Press [Store to HDD].

You cannot specify [Store to HDD] if [Preview] is selected.
By pressing [Store to HDD  Send], you can simultaneously store scan files and send them. For details, see Simultaneous Storage and Sending by E-mail and Simultaneous Storage and Sending by Scan to Folder.
![]() If necessary, specify the stored file's information, such as [User Name], [File Name], [Password], and [Select Folder].
If necessary, specify the stored file's information, such as [User Name], [File Name], [Password], and [Select Folder].
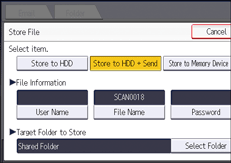
User Name
Press [User Name], and then select a user name. To specify an unregistered user name, press [Manual Entry], and then enter the name. After specifying a user name, press [OK].
File Name
Press [File Name], enter a file name, and then press [OK].
Password
Press [Password], enter a password, and then press [OK]. Re-enter the password for confirmation, and then press [OK].
Select Folder
Press [Select Folder], specify the folder in which to save the stored files, and then press [OK].
![]() Press [OK].
Press [OK].
![]() If necessary, press [Scan Settings] to specify scanner settings such as resolution and scan size.
If necessary, press [Scan Settings] to specify scanner settings such as resolution and scan size.
For details, see Scan Settings.
![]() Press [Start].
Press [Start].
![]()
For details about storing data to a USB flash memory device or SD card, see Basic Procedure for Saving Scan Files on a Memory Storage Device.
Only [Store to Memory Device] is available in [Store File] when PDF is selected as the File Type and [Security Settings] is specified in the PDF File Setting.
To cancel scanning, press [Stop]. Check the information displayed in the dialog box, and then press any key.
After scan files are stored, the file information fields will be automatically cleared. If you want to preserve the information in these fields, contact your local dealer.