You can make settings for the next copy job during copying.
You can preset up to ten jobs each for the Copy function and the Document Server function. When the current copy job is finished, the next job will start automatically.
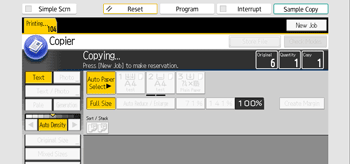
![]() Press [New Job] when “Copying...” appears.
Press [New Job] when “Copying...” appears.

![]() Be sure message “Ready” appears, and then make settings for the next copy job.
Be sure message “Ready” appears, and then make settings for the next copy job.
![]() Place the originals, and then press the [Start] key.
Place the originals, and then press the [Start] key.
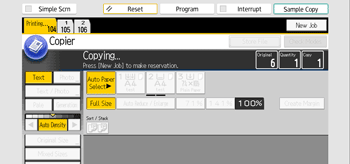
All originals are scanned.
After the current copy job, the next copy job starts automatically.
![]()
You can confirm and delete preset jobs. For details about the procedures, see "Managing Jobs", Preparation.
Job Preset display
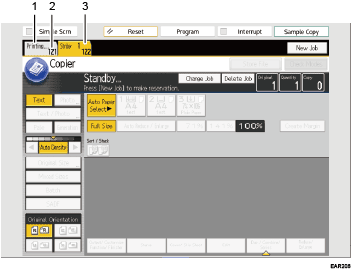
The preset jobs appear as shown below.

Job being printed
Press [Printing] to return to the copying screen.
Job number
The jobs are registered as job numbers that are displayed on the job list screen.
Waiting job
Reserved jobs are displayed.
![]()
When more than ten jobs are set up including jobs for other functions, scroll keys appear.
Checking job contents
![]() Select the job number you want to check.
Select the job number you want to check.

![]() Press [Change Job].
Press [Change Job].
![]() Check job contents.
Check job contents.
![]() Press [OK].
Press [OK].
Changing job contents
![]() Select the job number you want to change.
Select the job number you want to change.

![]() Press [Change Job].
Press [Change Job].
![]() Change contents, and then press [OK].
Change contents, and then press [OK].
![]() Press [Change] in the confirmation dialog box.
Press [Change] in the confirmation dialog box.
Deleting a job
![]() Select the job number you want to delete.
Select the job number you want to delete.

![]() Press [Delete Job].
Press [Delete Job].
![]() Press [Delete] in the confirmation dialog box.
Press [Delete] in the confirmation dialog box.
