Introduction of Two Types of Setting Screens (Standard/Classic)
Press [Settings] on the Home screen to change the settings of the machine, edit the address book, or confirm various information.
Two screen types are available for [Settings]: "Standard" and "Classic". "Standard" has a simple screen structure that makes it easy to find the functions and settings you want to use. The settings that can be specified differ in some part between "Standard" and "Classic".
How to Use the Settings (Standard) screen

This function is available on machines implemented with RICOH Always Current Technology v1.1 or later.
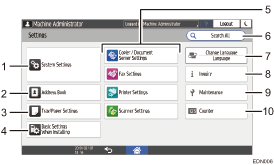
System Settings
Specify the network settings, operation sounds, and other settings.
For the list of setting items, see "System Settings", Settings (Standard).
Address Book
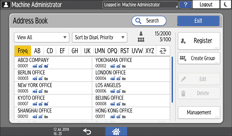
Manage the destination for sending data from the fax or scanner or the authentication information for logging in to the machine.
You can start operation by pressing [Address Book] on the Home screen.

Tray/Paper Settings
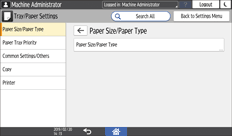
Specify the size and type of paper set in the paper tray.
Basic Settings When Installing
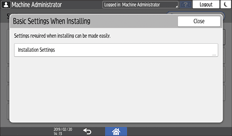
You can configure the settings easily when installing the machine.
On the "Settings" screen, you can specify the settings for the items shown below in Wizard format when the machine is moved to a different location or the environment in which the machine is used changes.
Basic Settings
Network Settings
Fax Settings
On the "Scan to Folder Helper", you can easily specify the destination to send the scanned data to a computer.
Application Settings
Change the settings for the Copier, Document Server, Fax, and Scanner functions.
For the list of setting items, see "Copier/Document Server Settings", "Fax Settings", "Printer Settings", and "Scanner Settings" in Settings (Standard).
Search All
You can search for a setting item by entering a keyword. Enter more than one keyword to narrow down the search results.
Change Language
You can change the language displayed on the control panel.
Inquiry
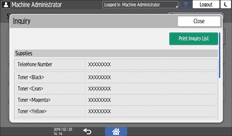
Confirm the contact for requesting repair of the machine or ordering consumables.
Maintenance
You can adjust the print position, density, and other settings related to the print quality of the machine.
Counter
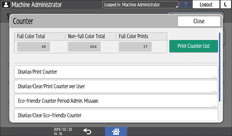
Display and print the total number of sheets printed for each function.

If administrator authentication has been set, contact the administrator to change the settings.
When you are finished performing an operation, press [Home] (
 ) to return to the normal screen.
How to Use the Settings (Classic) screen
When you are using the [Classic] screen type of Settings, the settings menu below is displayed.
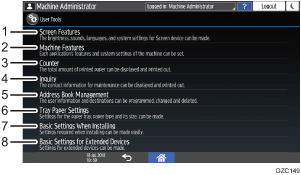
Screen Features Settings
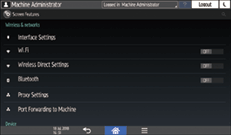
Change the settings of the Wi-Fi function built into the control panel, the sound generated from the control panel, and the language displayed on the screen.
For the list of setting items, see "Screen Features Settings", Settings (Classic).
Machine Features Settings
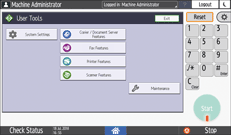
Change the system settings of the machine and the settings for the copy, document server, fax, printer, and scanner functions.
For the list of setting items, see "System Settings", "Copier/Document Server Settings", "Fax Settings", "Printer Settings", and "Scanner Settings" in Settings (Classic).
Counter
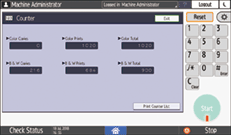
Display and print the total number of sheets printed for each function.
Inquiry
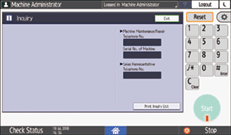
Confirm the contact for requesting repair of the machine or ordering consumables.
Address Book
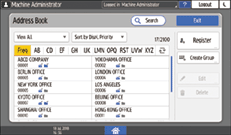
The items displayed on the screen vary depending on the version of RICOH Always Current Technology that is implemented on the machine.
Manage the destination for sending data from the fax or scanner or the authentication information for logging in to the machine.
You can start operation by pressing [Address Book] on the Home screen.

Tray Paper Settings
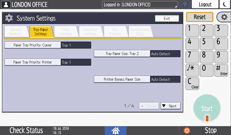
Specify the size and type of paper set in the paper tray.
Basic Settings When Installing
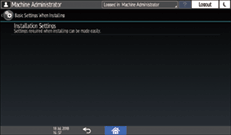
You can configure the settings easily when installing the machine.
On the "Settings" screen, you can specify the settings for the items shown below in Wizard format when the machine is moved to a different location or the environment in which the machine is used changes.
Basic Settings
Network Settings
Fax Settings
On the "Scan to Folder Helper", you can easily specify the destination to send the scanned data to a computer.
Basic Settings for Extended Devices
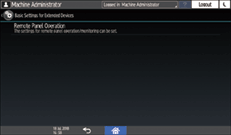
Specify the expanded device settings applications.
This is displayed when the expanded device settings applications with the expanded device settings menu are installed.

If administrator authentication has been set, contact the administrator to change the settings.
When you are finished performing an operation, press [Home] (
 ) to return to the normal screen.
Changing the "Settings" Screen Type
You can change the "Settings" screen type from the administrator menu in "Settings". The procedure varies depending on the screen type that is currently selected.
Changing from " Settings (Standard)" to " Settings (Classic)"
 Press [Settings] on the Home screen.
 Press [System Settings]
 [Settings for Administrator].
 Press [Switch Screen Type].
 Select [Classic], and then press [OK].
The change will be applied after the machine is restarted.
Changing from "Settings (Classic)" to "Settings (Standard)"
 Press [Settings] on the Home screen.
 Press [Machine Features Settings].
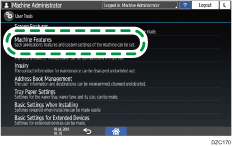
 Press [System Settings]
 [Administrator Tools] tab.
 Press [Switch Screen Type].
 Select [Standard], and then press [OK].
The change will be applied after the machine is restarted.
