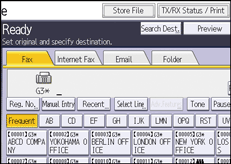
You can store and send a document at the same time. You can also just store a document.
The following information can be set for the stored documents as necessary:
User Name
You can set this function if necessary to know who and what departments stored documents in the machine. A user name can be selected from the Address Book or entered manually.
File Name
You can specify a name for a stored document. If you do not specify a name, scanned documents will be automatically assigned names such as "FAX0001" or "FAX0002".
Password
You can set this function so as not to send to unspecified people. A four to eight digit number can be specified as a password.
You can also change the file information after storing files.
![]() Place the original, and then specify the scan settings you require.
Place the original, and then specify the scan settings you require.
Specify the [Original Orientation] setting correctly. If you do not, the top/bottom orientation of the original will not be displayed correctly in the preview.
For details about the setting, see Setting the Original Orientation.
![]() Press [Store File].
Press [Store File].

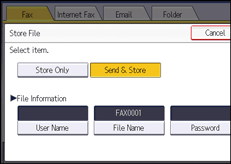
![]() Select [Send & Store] or [Store Only].
Select [Send & Store] or [Store Only].
Select [Send & Store] to send documents after they are stored.
Select [Store Only] to store documents.
![]() Set the user name, file name, and password as necessary.
Set the user name, file name, and password as necessary.

User Name
Press [User Name], and then select a user name. To specify an unregistered user name, press [Manual Entry], and then enter the name. After specifying a user name, press [OK].
File Name
Press [File Name], enter a file name, and then press [OK].
Password
Press [Password], enter a password using the number keys, and then press [OK]. Re-enter the password for confirmation, and then press [OK].
![]() Press [OK].
Press [OK].
![]() If you have selected [Send & Store], specify the receiver.
If you have selected [Send & Store], specify the receiver.
![]() Press [Start].
Press [Start].
![]()
Depending on the security settings, [Access Privileges] might be displayed instead of [User Name]. For details about setting [Access Privileges], see Specifying Access Privileges When Storing Files.
For details about text entry, see "Entering Text (When Using the Classic Applications)", Getting Started.
