If you load a paper size that is not selected automatically, specify the paper size using the control panel.
![]() Press [Home] (
Press [Home] (![]() ) at the bottom of the screen in the center.
) at the bottom of the screen in the center.
![]() Flick the screen to the left, and then press the [User Tools] icon (
Flick the screen to the left, and then press the [User Tools] icon (![]() ).
).
![]() Press [Tray Paper Settings].
Press [Tray Paper Settings].
![]() Select a tray from [Tray Paper Size: Tray 2] to [Tray Paper Size: Tray 3] for which you want to change the paper size.
Select a tray from [Tray Paper Size: Tray 2] to [Tray Paper Size: Tray 3] for which you want to change the paper size.
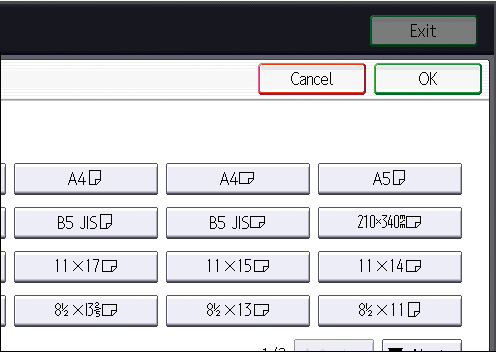
![]() Select the loaded paper size and feed direction, and then press [OK].
Select the loaded paper size and feed direction, and then press [OK].

![]() Press [User Tools] (
Press [User Tools] (![]() ) on the top right of the screen.
) on the top right of the screen.
![]() Press [Home] (
Press [Home] (![]() ) at the bottom of the screen in the center.
) at the bottom of the screen in the center.
![]()
For details about paper sizes selected automatically, see Recommended Paper Sizes and Types.
Even though the auto detect function supports the size of the loaded paper, it may fail to detect the correct paper size due to a minor deviation in its size or the position the paper is loaded. If the size of the loaded paper is not correctly displayed on the control panel, select a setting other than [Auto Detect], and manually specify the correct size of the loaded paper.
If you want to print on paper that is selected automatically after printing on a paper size that is not selected automatically, you must return the setting to [Auto Detect]. Reload the paper, and select [Auto Detect] in step 5.
