![]()
You can make prints for up to 30 classes at one time.
To use Stack Memory mode, set Memory Mode to [Stack Mode] by using the User Tools. For details, see [Mode Settings].
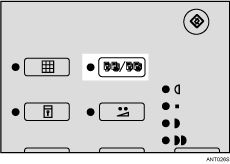
![]() Press the [Memory/Class] key.
Press the [Memory/Class] key.

![]() Use the [
Use the [![]() ] or [
] or [![]() ] key to select [Memory (print per orig.)], and then press the [OK] key.
] key to select [Memory (print per orig.)], and then press the [OK] key.

![]() Use the number keys to enter the number of prints you want for each class, and then press the [
Use the number keys to enter the number of prints you want for each class, and then press the [![]() ] key.
] key.

Repeat this step until you have entered the number of prints you want for all your classes.
![]() Press the [OK] key.
Press the [OK] key.
![]() If you want to use the optional tape dispenser, turn on the tape dispenser switch.
If you want to use the optional tape dispenser, turn on the tape dispenser switch.
![]() Set your original.
Set your original.
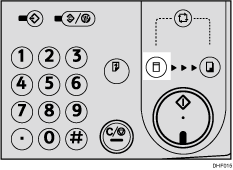
![]() Make sure the [Master Making] mode select key is lit.
Make sure the [Master Making] mode select key is lit.
If it is not lit, press the [Master Making] mode select key.

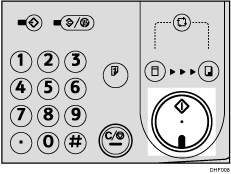
![]() Press the [Start] key.
Press the [Start] key.

![]() Printing starts automatically after the trial print.
Printing starts automatically after the trial print.
![]()
If you want to check the image before printing, press the [Auto Cycle] key before pressing the [Start] key, in order to disable Auto Cycle mode. See When Auto Cycle Mode Is Off.
