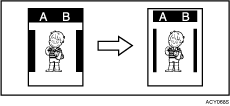
This function erases all four margins of the original or paper.
![]() Press the [Erase Border] key.
Press the [Erase Border] key.
![]() Use the [
Use the [![]() ] or [
] or [![]() ] key to select the original size and orientation, and then press the [OK] key.
] key to select the original size and orientation, and then press the [OK] key.

![]() Set your original.
Set your original.
![]() Make sure the [Master Making] mode select key is lit.
Make sure the [Master Making] mode select key is lit.
If it is not lit, press the [Master Making] mode select key.
![]() Enter the number of prints you want using the number keys.
Enter the number of prints you want using the number keys.
![]() Press the [Start] key.
Press the [Start] key.
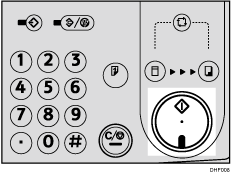
![]() Printing starts automatically after the trial print.
Printing starts automatically after the trial print.
![]()
You can specify within a range of 0 to 20 mm (0-0.8 inches), the width of the margin to be erased. For details, see [Initial Settings].
The default is [5 mm (0.2 inches)].
If you want to check the image before printing, press the [Auto Cycle] key before pressing the [Start] key, in order to disable Auto Cycle mode. See When Auto Cycle Mode Is Off.
