When Auto Cycle Mode Is Off
![]() Make sure the [Auto Cycle] key is not lit.
Make sure the [Auto Cycle] key is not lit.
If it is lit, press the [Auto Cycle] key.
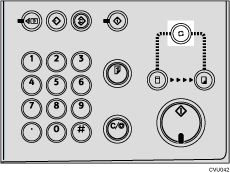
![]() Make sure the previous settings have been cleared.
Make sure the previous settings have been cleared.
If the previous settings have not been cleared, press the [Clear Modes] key.
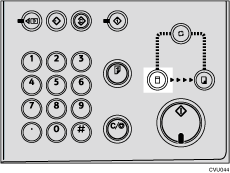
![]() Make sure the [Master Making] mode select key is lit.
Make sure the [Master Making] mode select key is lit.
If it is not lit, press the [Master making] mode select key.
![]() Specify the necessary settings.
Specify the necessary settings.
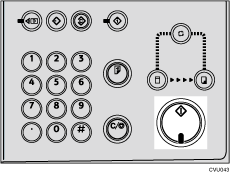
![]() Press the [Start] key.
Press the [Start] key.
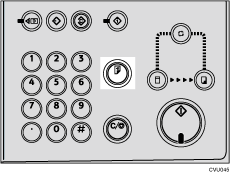
![]() If necessary, press the [Proof] key to check the image before making prints.
If necessary, press the [Proof] key to check the image before making prints.
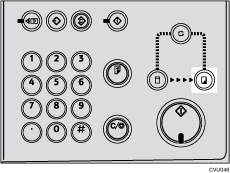
![]() Make sure the [Print] mode select key is lit.
Make sure the [Print] mode select key is lit.
If it is not lit, press the [Print] mode select key.
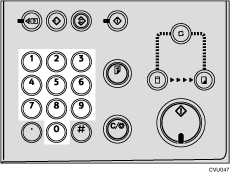
![]() Enter the number of prints you want using the number keys.
Enter the number of prints you want using the number keys.
Set a print quantity between 1 (minimum) and 9999 (maximum).
![]() Press the [Start] key.
Press the [Start] key.

![]() Printing starts automatically after the trial print.
Printing starts automatically after the trial print.
![]()
To change the image position, see Sample Print and Adjustment
 .
.To stop the machine during a multi print run, press the [Clear/Stop] key.
To reset the machine's settings to their default values when printing is complete, press the [Clear Modes] key.
To clear the entered values, press the [Clear/Stop] key.

