Checking which Locked Print File Jobs Have Been Canceled
When a Locked Print job is canceled, the machine automatically records the cancellation in a log. If the machine has created a cancellation log, “Locked Print Job Deleted Press User Tools key” will appear on the control panel display when the machine is in the copier mode.


Use the following procedure to check which Locked Print file jobs have been canceled.
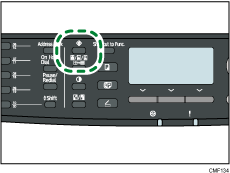
![]() When the Locked Print message is displayed, press the [User Tools] key.
When the Locked Print message is displayed, press the [User Tools] key.

![]() Press the [
Press the [![]() ][
][![]() ] keys to find a file whose name starts with an "!" mark.
] keys to find a file whose name starts with an "!" mark.
The "!" mark indicates that the job has been canceled.

Identify the Locked Print file by checking its time stamp and user ID.
To delete the log entry, proceed to the following steps.
![]() Press the [OK] key.
Press the [OK] key.
![]() Press [Delete].
Press [Delete].
The log is deleted.
If there are Locked Print logs/files remaining in the machine, the display returns to the list of Locked Print logs/files. If there are none remaining, the display returns to the initial screen.
![]()
You can press the [Escape] key to exit to the previous level of the menu tree.
To enter the menu for changing the machine's settings, press the [Scanner] key or the [Facsimile] key, and then press the [User Tools] key. To check the Locked Print log, press the [Copy] key to return to the copier mode.
The machine keeps a log of the 10 most recent canceled jobs. If a Locked Print file is canceled when the machine's log is already full, the oldest log will be deleted automatically.
The message “Locked Print Job Deleted Press User Tools key” disappears when all log entries are cleared.
The log will be cleared when the machine is turned off.

