You can adjust the density at which the originals are scanned.
The text and diagrams on originals should stand out clearly from the paper they are on.
If the original has a darker background than normal (for example, a newspaper clipping), or if the writing is faint, adjust the density.
Auto Density
The appropriate density setting for the original is automatically selected.
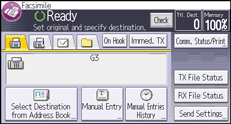
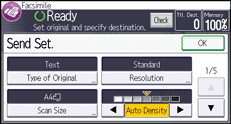
Press [Send Settings].

Make sure that [Auto Density] is selected, and then press [OK].

Manual Density
Use manual density to set density manually.
You can select one of seven density levels.
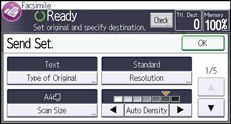
Press [Send Settings].

If [Auto Density] is selected, press [Auto Density] to turn it off.
Press [
 ] or [
 ] to adjust the density.
The indicator moves.

Press [OK].
Combined Auto and Manual Density
You can only adjust density for photographs, illustrations, or diagrams if the original has a dark background.
You can select one of seven density levels.
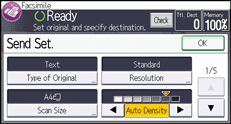
Press [Send Settings].

Make sure that [Auto Density] is selected.
Press [
 ] or [
 ] to adjust the density.
The indicator moves.

Press [OK].
![]()
Selecting [Text], [Text/Line Art], or [Text/Photo] for the type of original causes [Auto Density] to be selected.
