Preset Reduce/Enlarge
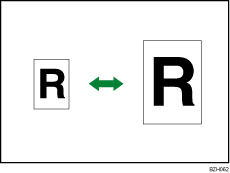
This function allows you to reduce or enlarge images by selecting a preset ratio.
You can register up to three frequently used reproduction ratios other than the preset reduce/enlarge ratios.

Base Point
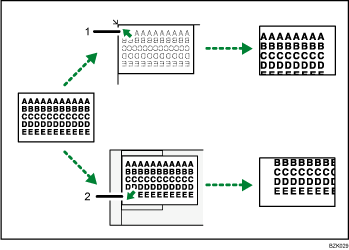
The base point of reduce/enlarge differs depending on how the original is scanned. When the original is placed on the exposure glass, the base point will be the upper left corner of the exposure glass. When it is placed in the ADF, the bottom left corner will be the base point.

Base point when placed on the exposure glass
Base point when placed in the ADF
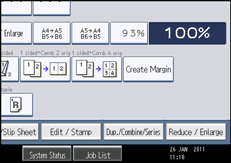
![]() Press [Reduce / Enlarge].
Press [Reduce / Enlarge].

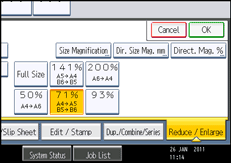
![]() Select a ratio, and then press [OK].
Select a ratio, and then press [OK].

![]() Select the paper tray.
Select the paper tray.
![]() Place the originals, and then press the [Start] key.
Place the originals, and then press the [Start] key.
![]()
You can change reproduction ratios shown on the initial display under Reproduction Ratio in User Tools. For details about Reproduction Ratio, see “Reproduction Ratio”.
You can also select a preset ratio on the initial display by pressing the shortcut reduce/enlarge key. In the case, proceed to step 3.
You can select one of 5 preset ratios (2 enlargement ratios, 3 reduction ratios).
You can select a ratio regardless of the size of an original or copy paper. With some ratios, parts of the image might not be copied or margins will appear on copies.

