Basic Procedure for Storing Scan Files
![]() Make sure that no previous settings remain.
Make sure that no previous settings remain.
If a previous setting remains, press the [Clear Modes] key.
![]() Place originals.
Place originals.
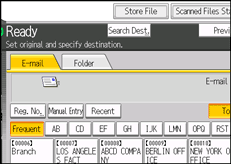
![]() Press [Store File].
Press [Store File].

![]() Press [Store to HDD].
Press [Store to HDD].
![]() If necessary, specify file information, such as [User Name], [File Name], and [Password].
If necessary, specify file information, such as [User Name], [File Name], and [Password].
For details, see Specifying File Information for a Stored File![]() .
.
![]() Press [OK].
Press [OK].
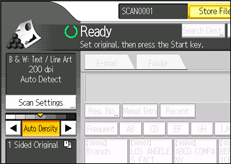
![]() If necessary, press [Scan Settings] to specify scanner settings such as resolution and scan size.
If necessary, press [Scan Settings] to specify scanner settings such as resolution and scan size.
For details, see Various Scan Settings![]() .
.

![]() If necessary, specify the scanning density.
If necessary, specify the scanning density.
For details, see Adjusting Image Density![]() .
.
![]() If necessary, press [Original Feed Type] to specify settings such as original orientation.
If necessary, press [Original Feed Type] to specify settings such as original orientation.
For details, see Setting of Original Feed Type![]() .
.
![]() Press the [Start] key.
Press the [Start] key.
![]()
Depending on the security setting, [Access Privileges] may appear instead of [User Name]. For details about specifying [Access Privileges], consult the administrator.
By pressing [Store to HDD + Send], you can simultaneously store scan files and send them. For details, see Simultaneous Storage and Sending by E-mail
 and Simultaneous Storage and Sending by Scan to Folder
 .
.You cannot press [Store File] if:
"PDF" is selected as the file type and security is applied
High Compression PDF is selected as the file type
You cannot specify [Store to HDD] if:
a destination is specified
[Preview] is selected
After scan files are stored, the file information fields will be automatically cleared. If you want to preserve the information in these fields, contact your local dealer.

