Fax Header Print
When the Fax Header is set to on, the stored name is printed on the receiver's paper.
You can store two Fax Headers; “First Name” and “Second Name”.
For example, if you store your department name in one and your organization name in the other, you could use the first when sending internal faxes and the second for external faxes.
![]()
In the USA, the Fax Header must contain the telephone number of the line your machine is connected to. It will be printed on the header of every page you send. Required in the USA.
![]() Place the original, and then select the scan settings you require.
Place the original, and then select the scan settings you require.
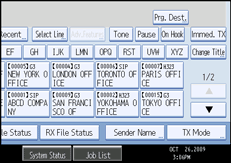
![]() Press [TX Mode].
Press [TX Mode].

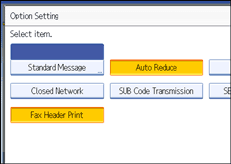
![]() Select [Option Setting].
Select [Option Setting].
![]() Make sure that [Fax Header Print] is highlighted.
Make sure that [Fax Header Print] is highlighted.

To cancel Fax Header Print, press [Fax Header Print] to turn the highlight off.
![]() Press [OK] twice.
Press [OK] twice.
![]() Specify the destination, and then press the [Start] key.
Specify the destination, and then press the [Start] key.
![]()
You can program fax header names using the Program Fax Information function in the Facsimile Features menu. For details about the programming method, see “Registering Fax Information”.
You can select whether or not dates, fax header names, file numbers, or page numbers are printed by changing their respective User Parameters (switch 18, bit 3, 2, 1, 0) in the Facsimile Features menu. See “Parameter Settings”.
If you used the number keys to specify the receiver, the first header name is printed on the receiver's paper. To print the second header name, contact your service representative.
You can program one of the Quick Operation keys with operations for this function. Using the Quick Operation Key allows you to omit steps 2, 3, and 5. For details about Quick Operation Key, see “General Settings”.
In the USA, law requires that your telephone number be included in the Fax Header. Register the telephone number (own fax number) and switch on Fax Header Print with User Parameters (switch 18, bit 1) in the Fax Features menu.

