Loading Paper into the Multi Bypass Tray (Tray 7)
This section describes how to load paper into the multi bypass tray (Tray 7).
![]()
Check the paper edges are aligned at the left side.
The maximum number of sheets you can load into the multi bypass tray (Tray 7) depends on paper type. The number should not exceed the upper limit.
When setting tab stock, always use the back fence.
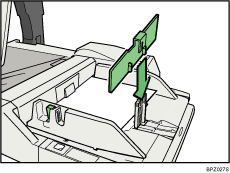
![]() Set the side fences to the paper size.
Set the side fences to the paper size.
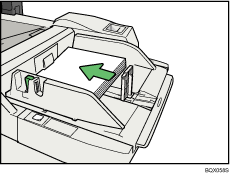
![]() Place paper in the multi bypass tray (Tray 7).
Place paper in the multi bypass tray (Tray 7).
Load paper print side up.
![]() Adjust the side fences again to ensure they properly fit the paper size.
Adjust the side fences again to ensure they properly fit the paper size.
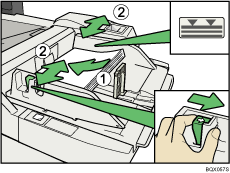
![]() Set the end fence.
Set the end fence.
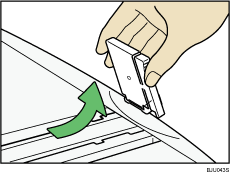
To remove the end fence, slide it to the right by pressing the stopper down.
![]() Press the elevator switch on the multi bypass tray (Tray 7).
Press the elevator switch on the multi bypass tray (Tray 7).
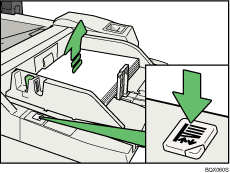
The green lamp of the elevator switch is blinking while the paper table is going up and down, and keeps lit when it stops.
Press the elevator switch to move down the paper table if you want to either add paper or remove jammed ones.
![]()
The tray can hold up to 500 sheets.
For details about using the multi bypass tray (Tray 7), see “Using the Multi Bypass Tray (Tray 7)”, Copy and Document Server Reference

 .
.

