


  |  | ||
![]()
Check there is no air in the envelopes before loading.
Load only one size and type of envelope at a time.
Before loading envelopes, flatten their leading edges (the edge going into the machine) by running a pencil or ruler across them.
Some kinds of envelope might cause misfeeds, wrinkles or print poorly.
Print quality on envelopes may be uneven if parts of an envelope have different thicknesses. Print one or two envelopes to check print quality.
In a hot and humid environment, the envelope might be output creased or improper printing quality.
Lift and pull Tray 1 carefully, then pull it out with both hands.
Place the tray on a flat surface.
Take out paper from Tray 1.
Push the metal plate down until it clicks into place to lock.
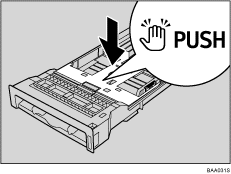
Pinch the clip on the side paper guide, and then adjust the guides to the envelope.
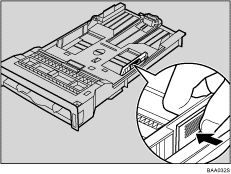
Pinch the clip on the front end paper guide to match the envelope size.
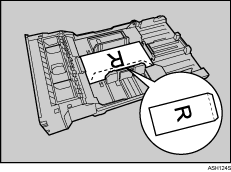
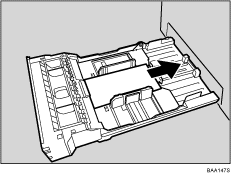
Set the envelopes in Tray 1 with the printing side facing up.
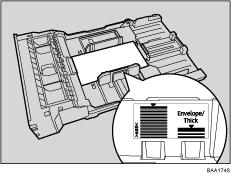
Make sure envelopes are not stacked higher than the upper limit (lower line) mark inside the tray.
Carefully slide the paper tray back in until it stops. To avoid paper jams, make sure the tray is securely inserted.
![]()
Be sure to load envelopes so that their flaps are on the right. If you do not, the envelopes will become creased.
If printed envelopes come out badly creased, load the envelopes in the opposite direction, and then rotate the print object by 180 degrees using the printer driver before printing. For details, see the printer driver Help.