Replacing the Friction Pad
Replace the friction pad when the following message appears on the control panel:

![]()
Dispose of the removed component as general plastic waste or hand it in for collection.
After replacing the friction pad, be sure to reset the counter on the control panel. Replacement is complete only after this is done.
Friction pad
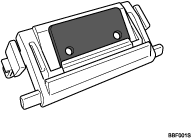
Use the following procedure to change the friction pad:
![]() Open the ADF cover.
Open the ADF cover.
![]() Grasp the old friction pad firmly at both ends, and then lift it up.
Grasp the old friction pad firmly at both ends, and then lift it up.
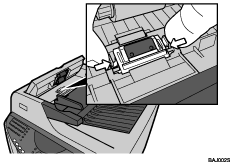
![]() Push down the new friction pad until it locks into place.
Push down the new friction pad until it locks into place.
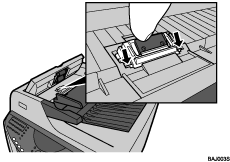
Make sure the friction pad shaft is correctly aligned.
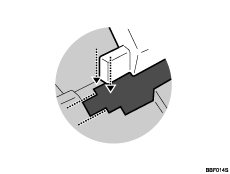
Press down on the friction pad several times to make sure it is properly engaged at both ends.
![]() Close the ADF cover, pressing it down firmly until it clicks.
Close the ADF cover, pressing it down firmly until it clicks.
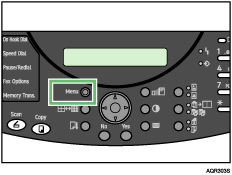
![]() Press the [Menu] key.
Press the [Menu] key.
![]() Scroll to “Maintenance” by pressing the [
Scroll to “Maintenance” by pressing the [![]() ] or [
] or [![]() ] key, and then press the [Yes] key.
] key, and then press the [Yes] key.
| Maintenance? OK=Yes / or 1-9 |
![]() Scroll to “Reset Counter” by pressing the [
Scroll to “Reset Counter” by pressing the [![]() ] or [
] or [![]() ] key, and then press the [Yes] key.
] key, and then press the [Yes] key.
| 10 Reset Counter? OK=Yes |
The following message appears:
| Reset ADF Counter? OK=Yes |
![]() Press the [Yes] key.
Press the [Yes] key.
The counter is reset and the Maintenance menu reappears.
Press the [No] key to switch to the initial screen.
![]()
For details about buying a replacement friction pad, contact your sales or service representative.

