Basic Procedures for Sending E-mail
This section describes the basic operation for sending scan files by e-mail, placing originals on the exposure glass as an example.
![]() Make sure that no previous settings remain.
Make sure that no previous settings remain.
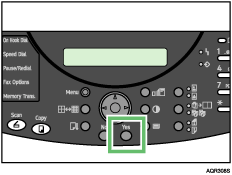
If a previous setting remains, press the [Clear Modes] key.
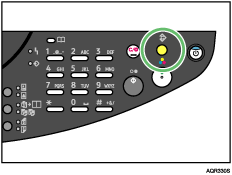
If any other function is displayed, press the [Scanner] key.
![]() Place originals.
Place originals.
| Send Email/File -Set Orig- |
![]() Select the destination, and then press the [
Select the destination, and then press the [![]() ] key.
] key.
You can specify multiple destinations as “CC”.
| To=abc.company@ab[A] Next= |
![]() If necessary, specify the sender, and then press the [
If necessary, specify the sender, and then press the [![]() ] key.
] key.
| Sender= [A] Next= |
![]() If necessary, enter the subject, and then press the [
If necessary, enter the subject, and then press the [![]() ] key.
] key.
| Default= [A] Next= |
![]() If necessary, specify the “CC”, and then press the [
If necessary, specify the “CC”, and then press the [![]() ] key.
] key.
| CC 001=Document [A] Next= |
![]() If necessary, specify the color mode, resolution, file type, and compression type, and then press the [Yes] key.
If necessary, specify the color mode, resolution, file type, and compression type, and then press the [Yes] key.
| *Color Gray B&W |
![]() If necessary, specify the items to specify the original, and then press the [Yes] key.
If necessary, specify the items to specify the original, and then press the [Yes] key.
| *ADF(A4 Scan=Yes (Size= |
Scanning starts.
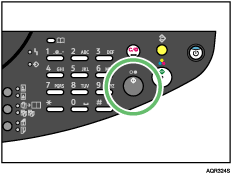
If you place the original on the ADF, press the [B&W Start] key. The scanning starts. After all originals are scanned, the transmission starts immediately.
![]() If you still have originals to send, place them on the machine, and then press the [Yes] key.
If you still have originals to send, place them on the machine, and then press the [Yes] key.
Repeat this step until all originals are scanned.
When loading additional originals, if you leave the machine idle for a minute, the job is cancelled.
| Next page? (A4 Scan=Yes (End=No) |
| *Job Cancelled* abc@abc.company.com |
![]() After all originals are scanned, press the [No]key, and then press the [B&W Start] key.
After all originals are scanned, press the [No]key, and then press the [B&W Start] key.
Transmission starts.
File Name
When sending scan files, the file name is automatically generated by the machine. The file name takes the following form:
File name: xxxx_YYMMDDhhmmss_xx.extension
xxxx: Sender Name
YY: Year
MM: Month
DD: Day
hh: Hour
mm: Minute
ss: Second
xx: File Number
Depending on the characters (\, /, :, *, ?, ", <, >, |, Space) used for the sender name, the sender name may be omitted from the file name. In this case, the file name will take the form “YYMMDDhhmmss_xx.extension”.
![]()
If you have selected two or more destinations as “CC”, the destinations can be made to appear one by one by pressing [
 ] or [
 ].
].To cancel a selected destination, display the destination in the destination field, and then press the [Clear/Stop] key.
To cancel scanning, press the [Clear/Stop] key.
![]()
For details about selecting the destination in step
 , see Specifying Destination
 .
.For details about specifying the sender in step
 , see Specifying Sender.
For details about specifying the scan type in step
 , see Specifying Scan Type", Specifying Resolution, Specifying File Type, Specifying Compression Type.
For details about specifying the items to specify the originals in step
 , see Specifying Scan Size, Adjusting Image Density (Scanner).