Managing the Number of Printed Sheets Using the Classification Code
You can count the number of prints of a job made under each classification code. In addition, you can use user authentication to manage prints by category such as billing or client.
-
The classification code is recorded in the job log. You can download a job log that recorded the classification code from a log collection server.
-
Printing with the classification code is enabled in the PCL 6 printer driver.
To manage printing by classification code, specify the setting for entering the classification code to [Required] in Web Image Monitor in advance.
-
Enter "http://(IP address of the machine) or (host name)/" in the address bar of the Web browser, and then press Enter.
-
Enter the user name and password to log in to Web Image Monitor.
-
Click [Configuration] on the [Device Management] menu.
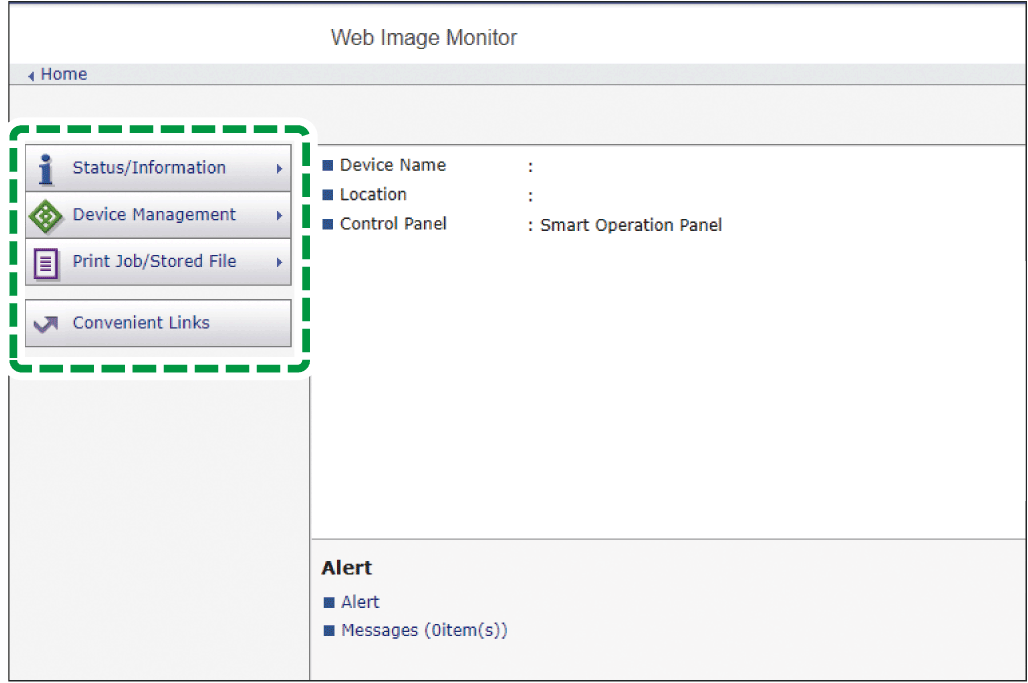
-
Click [Logs] of [Device Settings].
-
Select [Required] in [Classification Code] of [Common Settings for All Logs].
-
Click [OK], and then click [Logout].
-
Close Web Image Monitor.
Configure the setting on the [Basic] tab.
-
Open a document to print on the computer, and display the setting screen of the printer driver from the print menu in the application.
-
Specify Document Size, Paper Type, Orientation and other settings.
Basic Procedure for Printing Documents -
Click [Modify] in [Job Type:] on the [Basic] tab.
-
Enter the classification code.
-
After completing the configuration, click [OK] to print.

-
The entered classification code is stored in the printer driver. When a user is using multiple classification codes, create a printer icon for each classification code to specify a different code when printing without entering the classification code.