Confirming the Reception of an Internet Fax at the Destination
Specify [Reception Notice] when sending an Internet Fax to check that the fax is received correctly at the destination in Records.

-
You can use this function when the destination device supports MDN (Message Disposition Notification).
-
Press [Fax] on the Home screen.
-
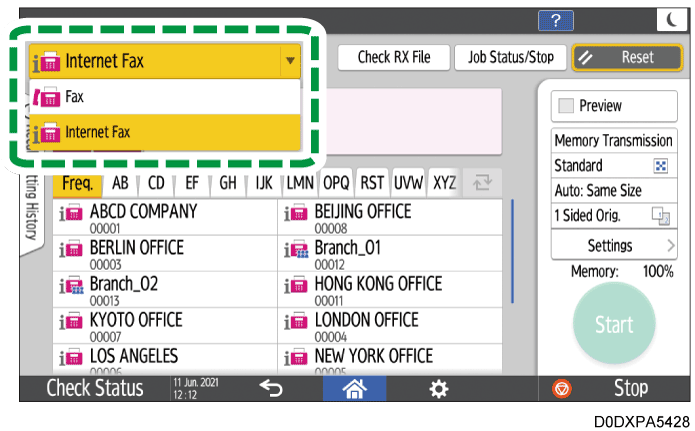
Select [Internet Fax] on the fax screen.
-
Place the original in the Auto Document Feeder (ADF) or on the exposure glass.
Setting an Original to Send by Fax on the Scanner -
Press [Settings]
 [Sender] on the fax screen to specify the sender.
When a login user is operating the machine, the login user becomes the sender. -
Press [Reception Notice].

-
Configure the scan settings.
Sending a Fax at the Image Quality Suitable for the Original -
Specify the destination on the fax screen, and then press [Start].
Basic Procedure for Sending Internet Faxes

-
You cannot send an Internet Fax or e-mail to multiple destinations when using reception confirmation. An individual e-mail is sent per destination in the specified order.
Browse Records to check if an outgoing Internet Fax specified with [Reception Notice] was received at the destination.
-
Press [Fax] on the Home screen.
-
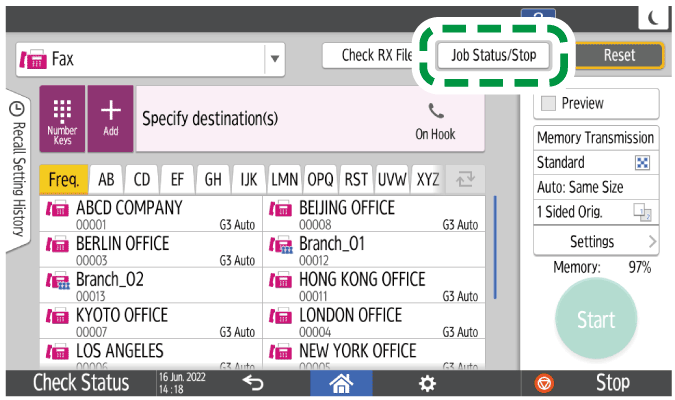
Press [Job Status/Stop] on the fax screen.
-
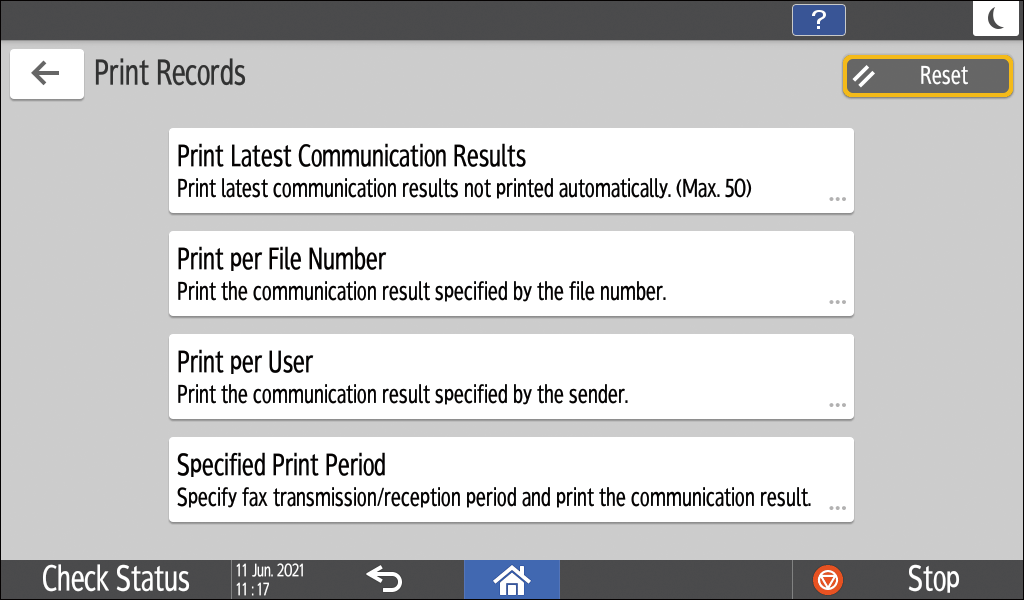
Press [Print Records], and then select the printing method.
-
To print the latest communication results that have not been automatically printed
Press [Print Latest Communication Results], and then press [Print]. To check the transmission and reception history prior to the latest 50 results, check the Records that have been printed automatically or use [Print per File Number], [Print per User], or [Specified Print Period]. The machine stores up to 1,000 of the latest transmission and reception results. -
To specify the document number to print its transmission result
Press [Print per File Number], enter the 4-digit document number, and then press [Print].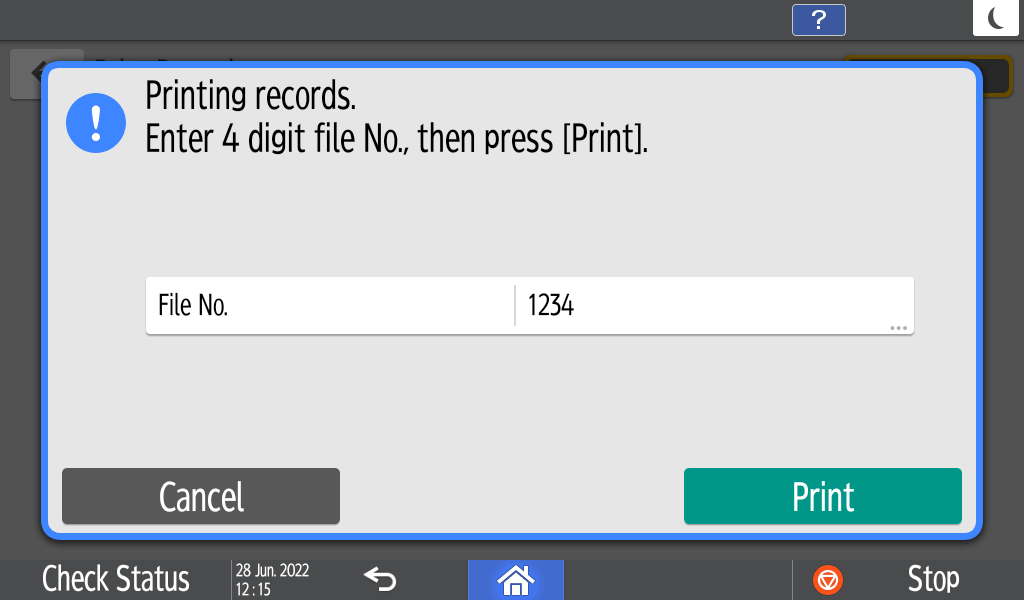
-
To specify a user to print its transmission result
Press [Print per User], specify the user to print the transmission/reception result, and then press [Print]. Prints the transmission and reception results for the specified user from among 1,000 of the latest results.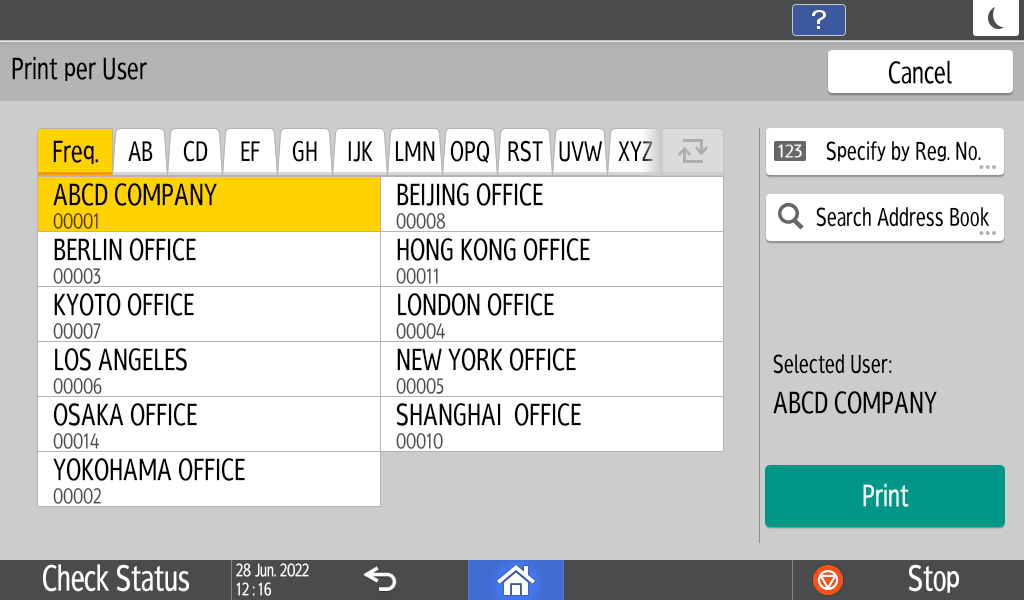
-
To specify a period for which the transmission and reception results are to be printed
Press [Specified Print Period], specify the period by entering the start and end dates or selecting from the calendar displayed on the screen, and then press [Print]. Prints up to 1,000 transmission and reception results for the specified period from among the total number of results.
-
-
Check the reception result at the destination.
-
"OK" is displayed in the "Result" column of Records when the machine receives a reception confirmation e-mail notifying the successful reception from the destination. "E" is displayed in the column when the machine receives a reception confirmation e-mail notifying that a reception error occurred.
-
"--" is displayed in the "Result" column of Records when a reception confirmation e-mail cannot be received for the latest 50 communications.
-
-
When the machine receives the reception confirmation e-mail that notifies that an error has occurred, an e-mail containing the information about the sender and the cause of the error written in English is printed on the machine.
-
You can also configure the machine to print the reception confirmation e-mail upon successfully completing a reception. Select bit number [0] under switch number [21], and change current value to "1".
Changing the Parameter Settings -
Do not specify reception confirmation when the destination is a mailing list. If you do so, you will receive reception confirmation e-mails from multiple destinations. In this case, "Error" will be displayed when even one reception error occurs.
-
Reception notice results are only shown in the Journal. The Result column in all other files, lists, and transmission reports show "--".