![]()
|
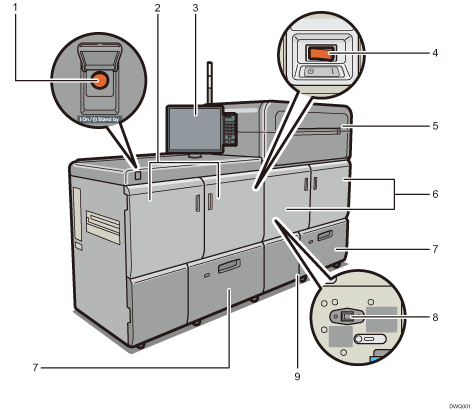
Front and left view

Main power switch
To operate the machine, the main power switch must be on. If it is off, open the main power switch's cover and turn the switch on.
Left mainframe front cover
Open to remove paper jams or turn on/off the AC power switch.
Control panel
See Guide to the Names and Functions of the Machine's Control Panel.
AC power switch
Press to completely turn off the power of the machine. The AC power switch must be kept on in normal use. The switch is inside the left mainframe front cover. For details, see "Dos and Don'ts", Maintenance and Management.
Toner cartridge compartment
Install toner cartridges here.
Open the cover to replace toner cartridges.
Right mainframe front cover
Open to remove paper jams.
Paper trays (Trays 1–2)
Load paper here.
The anti-humidity heater of the transfer unit
Warm the machine's interior to maintain the proper humidity. These heaters keep the machine warm even if the main power switch is turned off.
Waste toner cartridge cover
Open to replace the waste toner bottle.
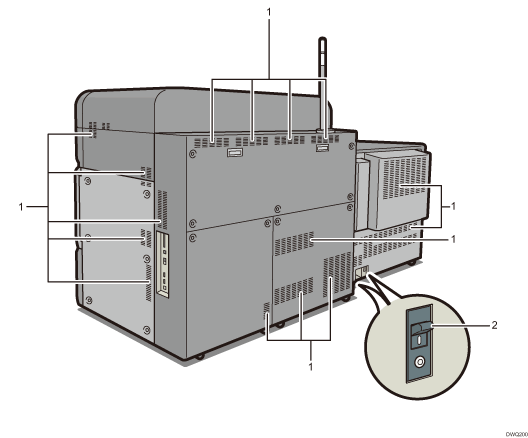
Rear and right view

Vents
Prevent overheating.
Earth leakage breaker
Protects users from electric shock. For details about checking the earth leakage breaker, see "Checking the Earth Leakage Breakers", Maintenance and Management.

