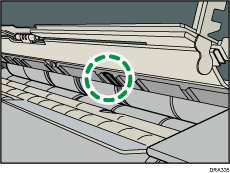
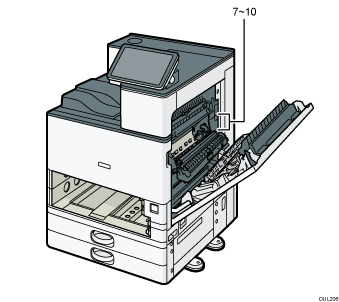
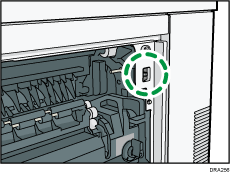
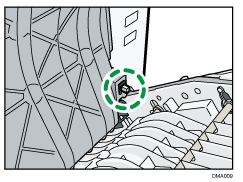
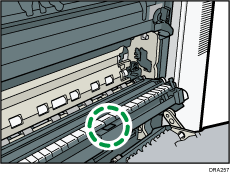
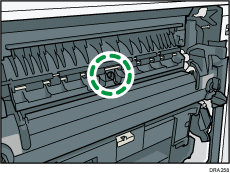
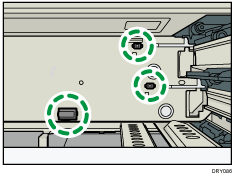
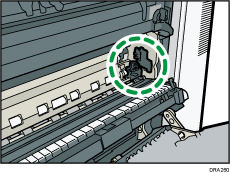
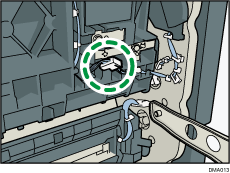
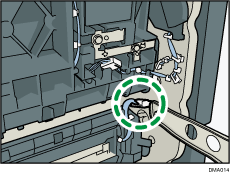
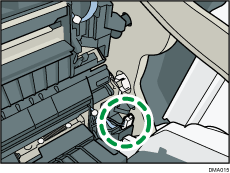
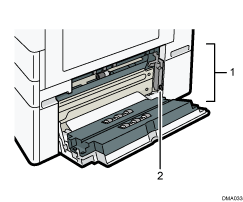
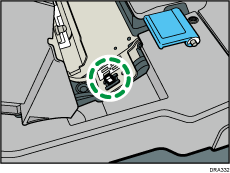
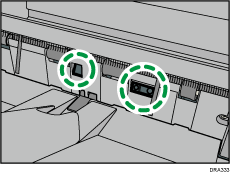
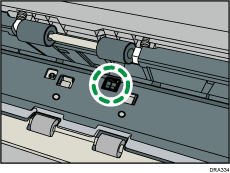
For the location of the sensors in the machine and extended options, see the following illustrations.
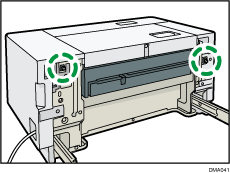
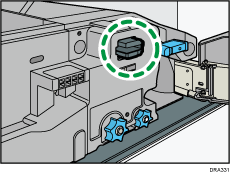
Main unit
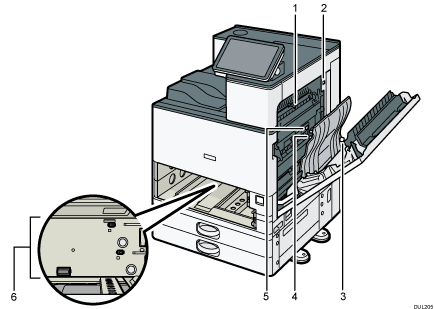
1.
2.
3.
4.
5.
6.
7.
8.
9.
10.
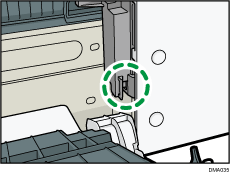
Lower paper trays

1.
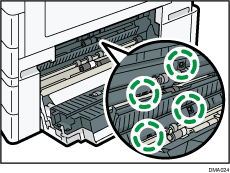
2.
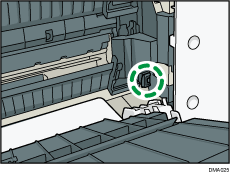
Tray 3 (LCT)
1.
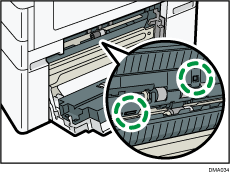
2.
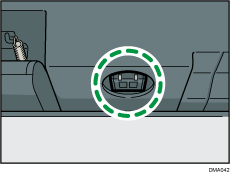
Large capacity tray (LCT)
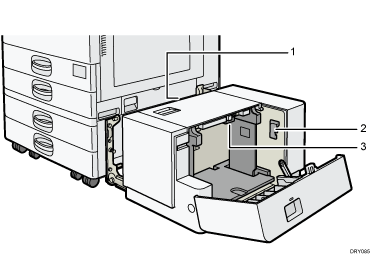
1.
2.
3.
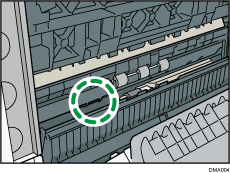
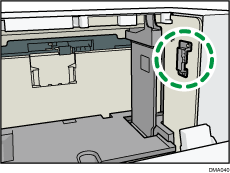
Internal Multi-Folding unit
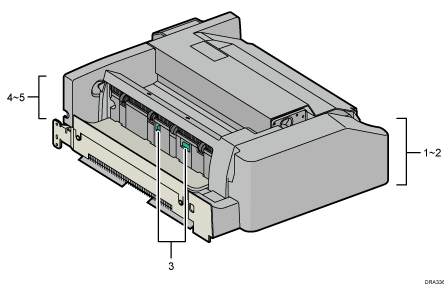
1.
2.
3.
4.
5.