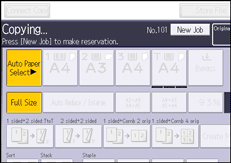
If you start a Connect Copy job when the main machine is copying, the main machine automatically connects with the sub-machine after finishing the current job, and then starts the new job. You can preset a maximum of eight jobs.
![]() On the main machine, press [New Job] when “Copying...” appears.
On the main machine, press [New Job] when “Copying...” appears.

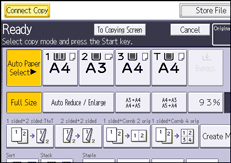
![]() Confirm that “Ready” is displayed, and then press [Connect Copy].
Confirm that “Ready” is displayed, and then press [Connect Copy].
![]() Confirm that “Ready” is displayed, and then make settings for the job.
Confirm that “Ready” is displayed, and then make settings for the job.

![]() Place the originals, and then press [Start] on the main machine.
Place the originals, and then press [Start] on the main machine.
Scanning begins. As soon as the current job is finished, the next job starts automatically.
![]()
Connect Copy jobs are displayed on the Job List of the sub-machine. However, they cannot be deleted from the sub-machine.
Preset jobs in Connect Copy mode can only be changed when the main machine has finished scanning the originals.
Preset jobs in Connect Copy mode can only be changed when copying has yet to begin on either machine.
If both the main machine and its sub-machines are performing print jobs, they start print jobs that are registered when their ongoing jobs are complete. If a sub-machine is performing a print job that requires copying or printing of a large number of pages, the registered print jobs are allocated to the main machine only.
