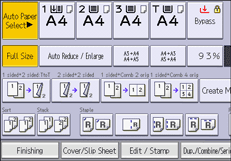
![]() Press [Finishing].
Press [Finishing].

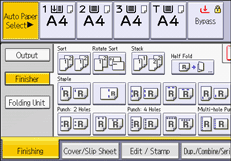
![]() Press [Finisher].
Press [Finisher].
![]() Select [Sort] or [Rotate Sort], and then press [OK].
Select [Sort] or [Rotate Sort], and then press [OK].

![]() Enter the number of copy sets using the number keys.
Enter the number of copy sets using the number keys.
![]() Place the originals.
Place the originals.
To confirm the type of finishing, press [Sample Copy].
![]() Press [Start].
Press [Start].
![]()
If you are copying from the exposure glass, a single copy of each original is made first. If the first copy set is acceptable, you can make the remaining copy sets by pressing [
 ]. The time required for copy sets to be delivered varies depending on the print settings.
Paper sizes and orientations that can be used in the Rotate Sort function are as follows:
A4

 , A5
, A5
 , B5 JIS
 , 81/2 × 11
 , 71/4 × 101/2
 , 51/2 × 8/2
 , 16K
, 16K

When using the Rotate Sort function, the capacity may be reduced.
When the number of copies exceeds capacity, copying stops. If this happens, remove copies from the tray to resume copying.
For details about the number of copy sheets that the output tray can accommodate, and paper sizes and orientations that can be shifted when delivered to the shift tray, see "Specifications", Maintenance and Specifications.
You can change the settings for the Sort function under [Input / Output] in User Tools. For details, see Input / Output.
