![]() Confirm that the machine has received a document using the Memory Lock Reception function.
Confirm that the machine has received a document using the Memory Lock Reception function.
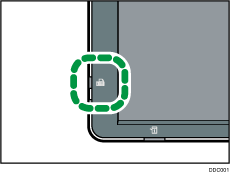
The Fax indicator lights up and “Memory Lock File” appears on Fax RX File Widget on the home screen when the machine receives a document using the Memory Lock Reception function.
![]() Press [TX/RX Status / Print].
Press [TX/RX Status / Print].
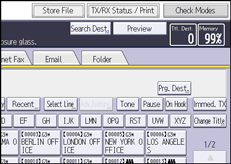
![]() Press [Print Memory Lock].
Press [Print Memory Lock].
![]() Enter a 4-digit Memory Lock ID using the number keys, and then press [Start].
Enter a 4-digit Memory Lock ID using the number keys, and then press [Start].
If the Memory Lock ID does not match, the “Specified code does not correspond to programmed Memory Lock ID.” message appears. Press [Exit] and retry after checking the Memory Lock ID.
![]() Press [Exit].
Press [Exit].
![]()
Even when Memory Lock Reception is available, if free memory is insufficient, reception is not possible.
You can also apply a Memory Lock Reception to documents that come only from certain senders.
Documents received by SEP Code Reception are automatically printed even if this function is switched on.
You cannot use multi-copy printing with Memory Lock.