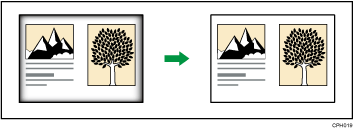
Erases the edge margins of the original image.
![]()
You cannot use the paper bypass location with this function.
There are two types in the Erase Border mode.
Same Width
Erase the same width of edge margins of the original image.
Different Width
Erase the edge margins of the original image at different widths.
![]() When Using the Copy Application
When Using the Copy Application
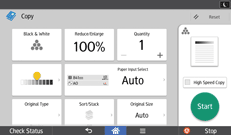
About how to use the application's screen, see "[Copy] Screen".
![]() When Using the Copier (Classic) Application
When Using the Copier (Classic) Application
![]() Press [Edit / Color].
Press [Edit / Color].
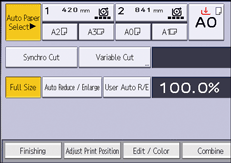
![]() Press [Erase].
Press [Erase].
![]() Press [Erase Border].
Press [Erase Border].
![]() Select [Same Width] or [Different Width].
Select [Same Width] or [Different Width].
![]() Specify an erase border width with [
Specify an erase border width with [![]() ] and [
] and [![]() ].
].
If [Same Width] is selected:
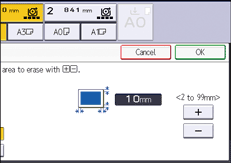
If [Different Width] is selected:
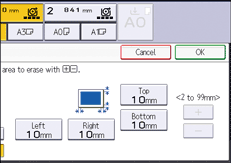
Press the key that you want to change, and then specify a new value.
![]() Press [OK] twice.
Press [OK] twice.
![]()
Pressing [
 ] or [
 ] changes the width in increments of 1 mm (0.1 inches). Pressing and holding down the relevant key changes the width in increments of 10 mm (1 inch).
You can change the width of the erased part in a range from 2 to 99 mm (0.1 to 3.9 inches).
The width of the erased margin varies depending on the reproduction ratio.
For details about the scan size limitations when using Erase Border together with the other functions, see Scan Size Limitations, by Function.
You can change the settings for the erase width under [Edit] in User Tools. For details, see Edit.