This section explains how to select an original type.
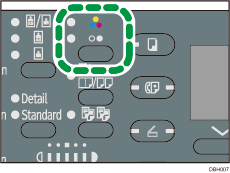
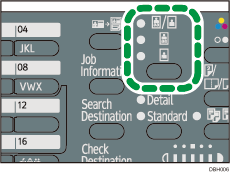
Select an original type using the Color Selection key in combination with the Original Selection key.
Specify the details of the selected original type using [Original Type Setting] under [Scanner Features]. For details about [Original Type Setting], see Scan Settings.
The following table explains the Color Selection and Original Selection keys combinations and their relationship with [Original Type Setting].
Color Selection key |
Original Selection key |
[Original Type Setting] |
|---|---|---|
Full Color |
Text |
Type 1(Color: Text)
Default: Full Color: Text / Photo |
Full Color |
Photo |
Type 2(Color: Photo)
Default: Full Color: Glossy Photo |
B&W |
Text |
Type 3(B&W: Text)
Default: Text |
B&W |
Photo |
Type 4(B&W: Photo)
Default: Text/Photo |
![]() Press the Color Selection key to select Full Color or B&W
Press the Color Selection key to select Full Color or B&W

The indicator of the selected color mode lights up.
![]() Press the Original Selection key to select Text or Photo
Press the Original Selection key to select Text or Photo

The indicator of the selected original type lights up.
![]()
To scan originals in gray scale, set [Type 3(B&W: Text)] or [Type 4(B&W: Photo)] to [Gray Scale] in [Original Type Setting] in [Scan Settings] under [Scanner Features]. Then, select the original type that you set to [Gray Scale]. For details about [Original Type Setting], see Scan Settings.
If images scanned in gray scale are not clear enough, you can rescan them by selecting [Type 1(Color: Text)] or [Type 2(Color: Photo)] using the Color Selection and Original Selection keys.
