The print time of the Hold Print files stored in the machine can be changed using the control panel. You can also set or cancel the print time of a Hold Print file.
![]() Display the initial printer screen.
Display the initial printer screen.
When using the standard operation panel
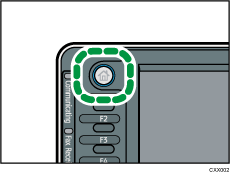
Press the [Home] key on the top left of the control panel, and press the [Printer] icon on the [Home] screen.

When using the Smart Operation Panel
Press the [Home] key on the top left of the control panel. Flick the screen to the left, and then press the [Printer] icon on the Home screen 4.
![]() Press the [Print Jobs] tab.
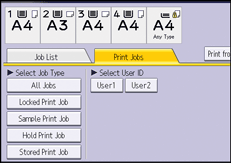
Press the [Print Jobs] tab.

![]() Press [Hold Print Job].
Press [Hold Print Job].
![]() Select the Hold Print file that you want to change the print time.
Select the Hold Print file that you want to change the print time.
![]() Press [Set Print Time].
Press [Set Print Time].
![]() Enter the print time using the number keys.
Enter the print time using the number keys.
To cancel the print time, press [Cancel].
![]() Press [OK] or [
Press [OK] or [![]() ].
].
![]()
You can also change, add, or cancel the print time specified for a Hold Print file from Web Image Monitor. For details, see Web Image Monitor Help.
