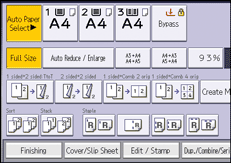
Messages registered in advance, such as "COPY", are stamped on copies.

![]() (mainly Europe and Asia)
(mainly Europe and Asia)
Depending on your model, this function might not be available. For details, see "Functions Requiring Optional Configurations", Getting Started.
![]()
You cannot use the bypass tray with this function.
Only one message can be stamped at a time.
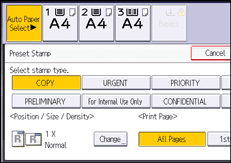
The following eight messages are available for Preset Stamp:
"COPY", "URGENT", "PRIORITY", "For Your Info.", "PRELIMINARY", "For Internal Use Only", "CONFIDENTIAL", "DRAFT"
![]() Press [Edit / Stamp].
Press [Edit / Stamp].

![]() Press [Stamp] twice.
Press [Stamp] twice.
![]() Press [Preset Stamp].
Press [Preset Stamp].
![]() Select the desired message.
Select the desired message.

![]() Press [Change].
Press [Change].
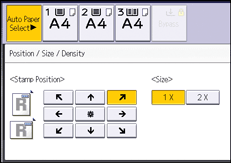
![]() Select the stamp position, size, and density, and then press [OK].
Select the stamp position, size, and density, and then press [OK].

![]() Press [All Pages] or [1st Page Only] to select the print page.
Press [All Pages] or [1st Page Only] to select the print page.
![]() Press [OK] three times.
Press [OK] three times.
![]()
Depending on paper size, if you change the stamp size, parts of the stamp might not be printed.
You can change the size and pattern of stamps. Depending on the setting, stamp density may change.
For details about stamp positions, see Stamps.
You can change the settings for Preset Stamp under [Preset Stamp] in User Tools. For details, see Preset Stamp.
