Changing to a Size That Is Not Automatically Detected
If you load a paper size that is not selected automatically, you need to specify the paper size with the control panel. This section describes how to load such paper.
This section explains how to load these paper taking 11 × 15![]() as an example.
as an example.
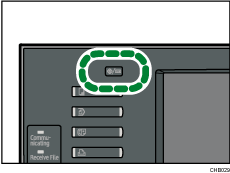
![]() Press the [User Tools/Counter] key.
Press the [User Tools/Counter] key.
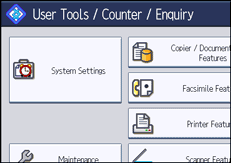
![]() Press [System Settings].
Press [System Settings].
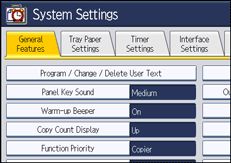
![]() Press the [Tray Paper Settings] tab.
Press the [Tray Paper Settings] tab.
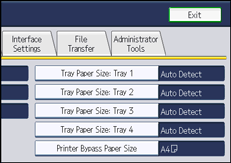
![]() Select the tray for which you want to change the paper settings.
Select the tray for which you want to change the paper settings.
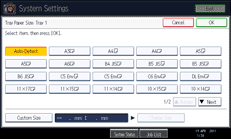
![]() Select the loaded paper size and feed direction, and then press [OK].
Select the loaded paper size and feed direction, and then press [OK].
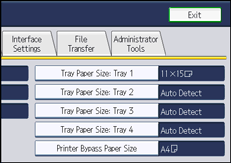
The set paper size and feed direction is displayed.
![]() Press the [User Tools/Counter] key.
Press the [User Tools/Counter] key.
The initial display is shown.
![]()
For details about paper sizes selected automatically, see “Recommended Paper Sizes and Types”.
If you want to print on paper that is selected automatically after printing on a paper size that is not selected automatically, you must return the setting to “Auto Detect”. Reload the paper, and select “Auto Detect” in step 5. The setting is returned to “Auto Detect”.

