Changing the Paper Size in Trays 1 - 2
This section describes how to change the paper size in trays 1 ![]() 2.
2.
The paper size setting is changed in the same way for each paper tray.
In the following example procedure, the paper size setting for tray 2 is changed.
![]()
If a paper tray is pushed vigorously when putting it back into place, the position of the tray's side fences may slip out of place.
Check the paper edges are aligned at the right side.
Slide the side fences until they are aligned with the paper size, and then re-lock the side fences.
![]() Check that paper in the paper tray is not being used, and then pull the tray carefully out until it stops.
Check that paper in the paper tray is not being used, and then pull the tray carefully out until it stops.
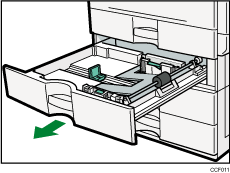
![]() Press the metal plate down until it clicks.
Press the metal plate down until it clicks.
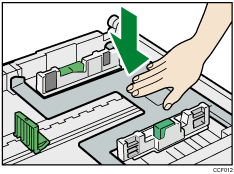
![]() Remove paper if loaded.
Remove paper if loaded.
![]() Release the lock on the side fences.
Release the lock on the side fences.
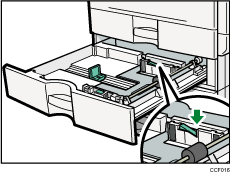
![]() Square the paper and load it print side up.
Square the paper and load it print side up.
Do not stack paper over the limit mark.
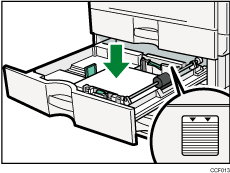
![]() While pressing down the release lever, slide the side fences until they are aligned with the loaded paper size.
While pressing down the release lever, slide the side fences until they are aligned with the loaded paper size.
Make sure there are no gaps between the paper and side fences.
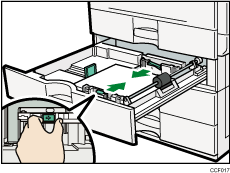
![]() Slide the end fence until it is aligned with the loaded paper size.
Slide the end fence until it is aligned with the loaded paper size.
Make sure there are no gaps between the paper and end fence.
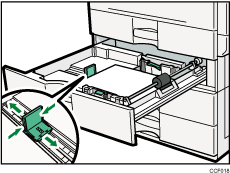
![]() Re-lock the side fences again.
Re-lock the side fences again.
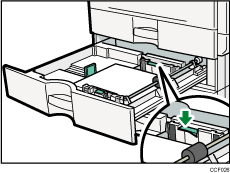
![]() Carefully slide the paper tray fully in.
Carefully slide the paper tray fully in.
![]() Check the paper size on the display.
Check the paper size on the display.
![]()
If you load a paper size that is not selected automatically, you will need to specify the paper size with the control panel. For details, see “Changing to a Size That Is Not Automatically Detected”.

