

  |  | ||
Use the following procedure to save scan files on a removable memory device.
Insert a removable memory device in the media slot.
You can connect only one removable memory device at a time. The media slot cannot be used if both an SD card and a USB flash memory are inserted into it at the same time.
Make sure that no previous settings remain.
If a previous setting remains, press the [Clear Modes] key.
Place originals.
Press [Store File].
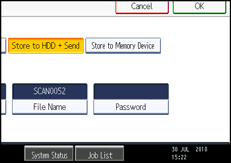
Press [Store to Memory Device].

Press [OK].
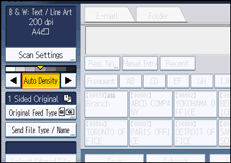
If necessary, press [Scan Settings] to specify scanner settings such as resolution and scan size.
For details, see "Various Scan Settings".

If necessary, specify the scanning density.
For details, see "Adjusting Image Density".
If necessary, press [Original Feed Type] to specify settings such as original orientation.
For details, see "Setting of Original Feed Type".
If necessary, press [Send File Type / Name] to specify settings such as file format and file name.
For details, see "Specifying the File Type and File Name".
Press the [Start] key.
When scanning batches, place subsequent originals after the scan files have been sent.
When writing is complete, a confirmation message appears.
Press [Exit].
Remove the memory device from the media slot.
Remove the media from the media slot only after data has been written completely. Removing the media while data is being written will result in corrupted data.
![]()
You cannot specify where the data is saved. Files are saved in the root directory of the removable memory device.
If the removable memory device is partitioned, files are saved on the first partition.
You cannot configure file information such as [User Name], [File Name], and [Password].
The amount of free space on the memory device is displayed. Note that if the amount of free space exceeds 10 GB, "9999.99 MB" will be displayed.
To cancel writing, press the [Clear/Stop] key. If files are being written when writing is cancelled, any partially written files are deleted. Only complete files are stored on the removable memory device.
The following table explains the activity of the media slot lamp.
Media Type |
Lamp Activity |
|---|---|
USB Memory |
Lights up and remains lit as long as a USB flash memory is inserted. |
SD Card |
Lights up only when the SD card is being accessed. |