Printing Received and Stored Documents
This section explains how to print documents saved on the hard disk.
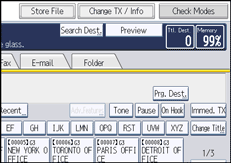
![]() Press [Change TX / Info].
Press [Change TX / Info].
![]() Select [Print / Delete Stored Reception File].
Select [Print / Delete Stored Reception File].
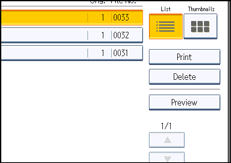
![]() Select a file to be printed, and then press [Print].
Select a file to be printed, and then press [Print].
To cancel printing, press [Cancel].
To delete the document after printing, press [Delete File after Printing].
To perform two-sided printing, press [Print on 2 Sides] before pressing the [Start] key.
![]() Press the [Start] key.
Press the [Start] key.
To stop printing after pressing the [Start] key, press [Stop Printing]. The display returns to that of step 3.
![]() Press [Exit] twice.
Press [Exit] twice.
The standby display appears.
![]()
This function allows you to print only received and stored documents.
You cannot print received and stored documents using the Document Server function.
You can program one of the Quick Operation keys with operations for this function. Using the Quick Operation Key allows you to omit step 1. For details about Quick Operation Key, see “General Settings”.
You can specify and print multiple documents. For the maximum number of documents you can print at a time, see “Maximum Values”.