

  |  | ||
This section describes how to set the machine to permit only authorized users to copy, send faxes, or scan using the control panel.
Using Web Image Monitor, select the function you want to restrict, and then register the users who can use that function. For each user, you can specify which functions are available upon authentication.
A maximum of 20 users can be registered.
Start the Web browser, and access the machine by entering its IP address.
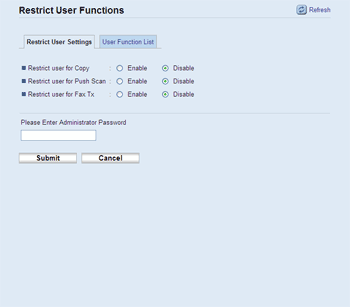
Click [Restrict User Function].

Under "Restrict User Settings", select [Enable] for the function you want to restrict.
Select [Disable] for the functions you do not want to restrict.
Enter the administrator password if required.
Click [Submit].
The user restriction setting is enabled for the selected function. Proceed to the following steps to register users.
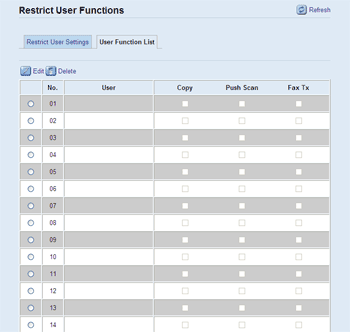
Click [User Function List].
A list of currently registered user entries appears.

Select a user entry, and then click [Edit].

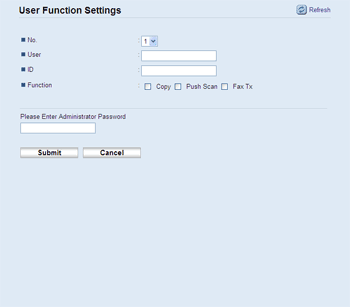
Type a unique user Name in [User] using up to 16 alphanumeric characters.
Type a unique user ID in [ID] using up to 8 digits.
The user ID will be used to authenticate users at the control panel, when they try to use a restricted function.
Select the functions you want to make available for the user upon authentication.
Unselected functions will be unavailable to users authenticated under this user ID.
Enter the administrator password if required.
Click [Submit].
Close the Web browser.
![]()
You must enter both a user name and user ID to register a user entry.
No two user entries can have the same user name or user ID.
![]()
For details about using a Web Image Monitor, see Using Web Image Monitor.