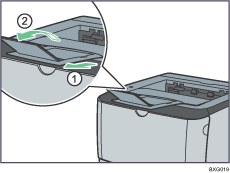


  |  | ||
To protect it from shock and vibration during transit, this printer comes packaged in cushioning foam and secured with tape. Remove these protective materials after bringing the printer to where it will be installed.
![]()
|
![]()
|
![]()
Removed tape is dirty. Be careful not to let it touch your hands or clothes.
Leave the tape holding the paper feed tray and cover in place while moving the printer.
Lower the printer slowly and carefully to prevent trapping your hands.
Do not grip on the tray area when lifting the printer.
Do not allow paper clips, staples, or other small metallic objects to fall inside the printer.
Keep the uncovered print cartridge away from direct sunlight.
Do not touch the print cartridge's photo conductor.
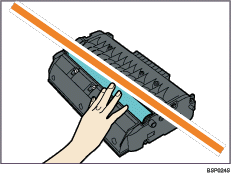
Take out the printer from the box, and then remove the plastic bag.
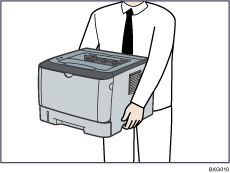
Lift the printer by using the inset grips on both sides of the printer.
Remove the protective materials attached on the printer's exterior.
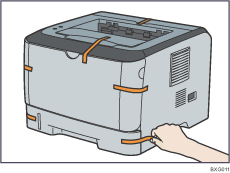
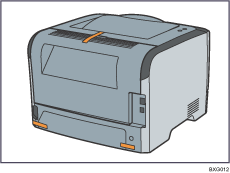
The actual printer may come with protective materials attached in different positions. Make sure to check the printer's exterior for all protective materials, and remove them completely.
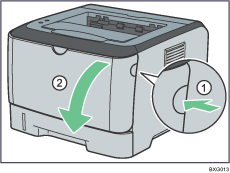
Push the side button to open the front cover, and then carefully lower it.
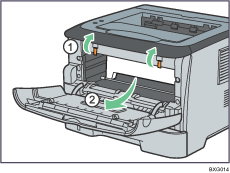
Remove the protective material attached inside the printer.
Unpack the print cartridge. Then, place it on a flat surface, and remove the protection sheet.
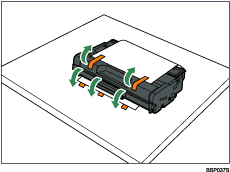
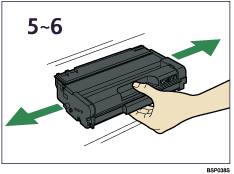
Shake the print cartridge from side to side five or six times.
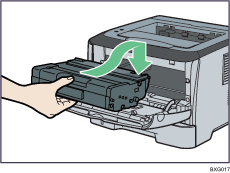
Slide the print cartridge in horizontally. When the cartridge can go no further, raise it slightly and push it fully in. Then push down on the cartridge until it clicks into place.
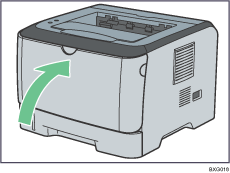
Using both hands, carefully push up the front cover until it closes.
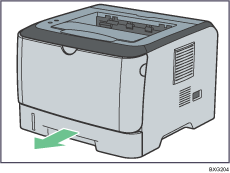
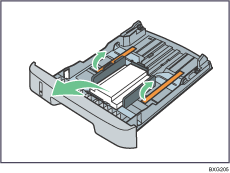
Carefully pull tray 1, and then pull out with both hands.
Remove the protective material attached inside the tray.
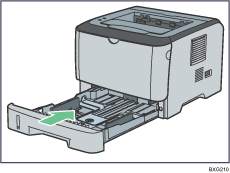
Carefully push tray 1 straight into the printer.
Pull out and raise the stop fence.
