


  |  | ||
![]()
|
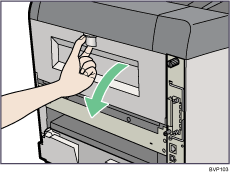
Open the rear cover.
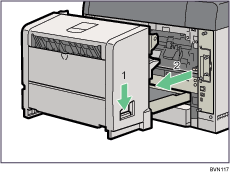
If the optional duplex unit is attached, push down the lever on the right side of the duplex unit (![]() ), and then pull it out until it stops (
), and then pull it out until it stops (![]() ).
).
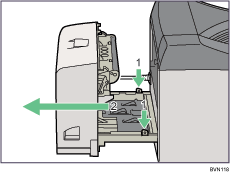
Push the bottom board levers (![]() ) and then pull the duplex unit out of the printer (
) and then pull the duplex unit out of the printer (![]() ).
).
Use the envelope lever.
Raising the envelope lever increases roller pressure.
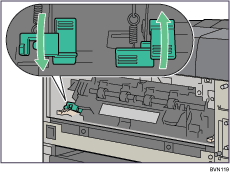
When printing on normal paper, keep the envelope lever in its original position (raised).
Close the rear cover.
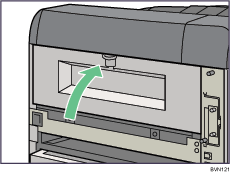
When the optional duplex unit is detached, place the power cable inside the slot on the side of the duplex unit, and then push the duplex unit along the rails into the rear of the printer.
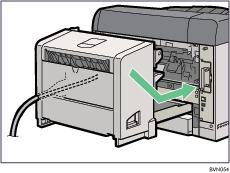
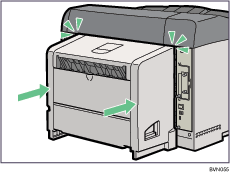
Push the duplex unit securely into the printer.
![]()
When printing on normal paper, keep the envelope lever in its original position (raised).