


  |  | ||
This section explains how to remove prints from the optional stacker.
![]()
Use the optional roll-away cart for transporting paper from the optional stacker. Do not use the optional roll-away cart for any other purpose.
Do not attempt to get inside the optional stacker.
About delivering paper to the stacker
If you select [Do not Stack Jobs] in Multi-job Output Method to Stacker under [Output Tray Setting] and the place multiple stacking jobs on the stacker at the same time, an error message instructing you to remove paper will appear before each stacking job begins. To stop this message appearing, change the setting from [Do not Stack Jobs] to [Stack Jobs].
If paper remains on the stacker when the printer's main power switch is turned on, you cannot specify that stacker for the output tray.
When the finisher or booklet finisher is installed, you cannot specify the stacker upper tray as the output tray. Neither can you specify the first stacker's upper tray as the output tray when the second stacker is installed. The “first stacker” is the stacker nearest the printer.
Press the Tray Lowering button.
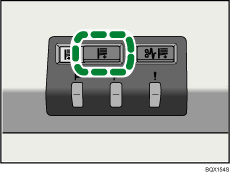
When the stacker tray is fully lowered, the Tray Moving Indicator stops flashing and remains lit.
Open the stacker front cover.
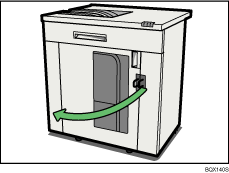
Carefully pull out the roll-away cart.
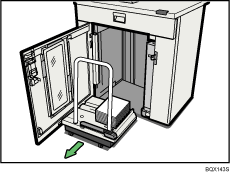
Take care not to let the paper stack topple.
Rest the paper press on top of the paper stack.
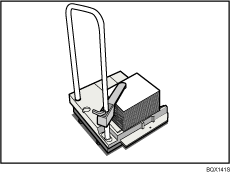
Pull the lever on the paper press toward you.
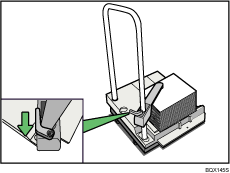
Transport the paper to where it is required, and then unload the roll-away cart.
Return the paper press to its original location.
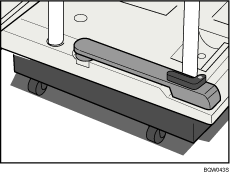
Put the roll-away cart back inside the stacker.
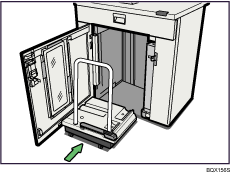
Be careful to push the roll-away cart in straight, not at an angle.
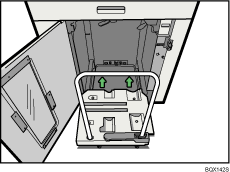
Close the stacker front cover.
The stacker tray begins elevating automatically and the Tray Moving Indicator begins flashing. When the Tray Moving Indicator stops flashing, the tray is fully elevated.
![]()
Before moving the optional stacker, be sure to take the optional roll-away cart out of the optional stacker.
You can purchase extra roll-away carts if you need them. For details, contact your service representative.