

  |  | ||
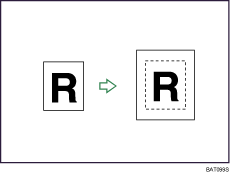
You can make copies with the image moved to the centre of the copy paper.

The original sizes and orientations you can use with this function are as follows:
Metric version
Original location |
Original size and orientation |
|---|---|
Exposure glass |
A3 |
ADF |
A3 |
Inch version
Original location |
Original size and orientation |
|---|---|
Exposure glass |
11 × 17 |
ADF |
A4 |
Select the paper size.
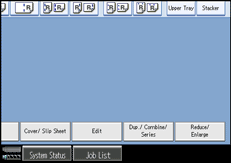
Press [Edit].

Press [Edit Image].
Press [Centring].
Press [OK].
![]()
Though the original is set to a different orientation from the paper loaded, the machine will not rotate the image by 90° (Rotate copy).