If You Cannot Remove Jammed Paper
This section explains how to remove badly jammed paper that you cannot remove by the usual methods.
![]()
If the bypass tray and duplex unit are attached to the printer, switch the printer off and detach the duplex unit.
Do not touch the feed belt, the transparent black band, print head rail rod, ink tubes, paper pressing board, or toothed rubber belt. Also, take care not to snag any cables or ink tubes with your sleeves.
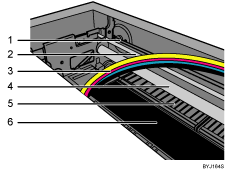
Toothed rubber belt
Transparent black band
Ink tubes
Print Head Rail Rod
Paper pressing board
Feed belt
If the printer's ink tube is preventing access to the jammed paper, carefully pull the tube to the side. Do not pull the tube upward. Pulling the tube upward will damage the printer.
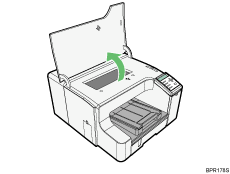
Open the top cover.
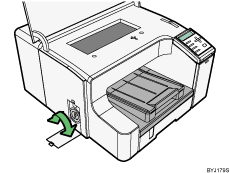
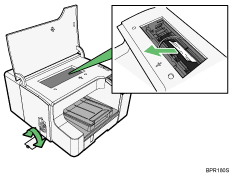
Open the left cover, and then turn the paper feed wheel.
Turn the wheel while looking for the jammed paper through the top cover opening.
Remove the jammed paper through the top cover opening or back of the printer.
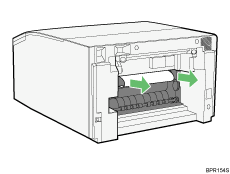
Before removing jammed paper from the back of the printer, remove the duplex unit.
If using a GX e2600, remove the rear cover in place of the duplex unit.
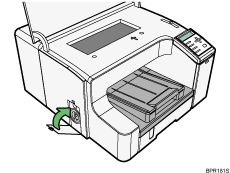
Close the left cover.
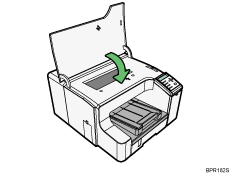
Close the top cover.
Printing starts.
![]()
Before starting a print job, be sure to attach the output ramp.
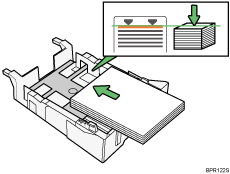
Align the paper and reload it in the paper tray. Loading paper over the limit line in the tray may result in a paper jam.
